


 2019-05-13
in
2019-05-13
in

 6 min read
In my write up on Avalonia first impressions one of the things I was most missing was a full IntelliSense/Auto-complete style system for the Avalonia XAML and the ability to create components in the IDE on Linux. “The IDE” in both of those cases was the one I had focused on which was JetBrain’s Rider IDE . When I originally wrote the article I thought there was no alternative so I’d have to use a workflow akin to doing it in a pure text editor. However as I was in the middle of editing I discovered that the Avalonia developers are actually working on a full IDE built with Avalonia called AvalonStudio . While it is in heavy development in beta and missing some key features because if it I have to say it is impressive how many features it has and how well it works already. Could it replace Rider for .NET development right now? No. Could it eventually? Maybe, but that’s not why it is interesting to me. It’s interesting to me because it has the facilities I sorely wanted in Rider but found missing: XAML IntelliSense (and preview!) and Avalonia component creation with proper namespace behaviors. So how does one go about running it?
Update (26 Mar 2019): The repository does in fact have binary installers in the releases not just source code. The Debian installer installed correctly but made a bad menu shortcut. Otherwise the net effect was that it worked as well as the method below but with less trouble. The releases are here {:target="_blank}. The binaries are under the “Assets” drop down for each release. To run it you need to edit/create a shortcut to the below command or execute it on the command line:
NOTE: This article is from 2019 and Avalonia has been under active development and improvement since that time. Please consult newer tutorials and documentation for how to use this against current releases of Avalonia.
dotnet /opt/vitalelement/avalonstudio/bin/AvalonStudio.dll
Since this is in beta they don’t seem to be creating binaries for it just yet. So this is going to be a bit of a developer heavy thing, but since this is a tool for developers I would imagine it shouldn’t be too difficult. Their README home page has the basic instructions but simply following them left me in a bit of a lurch. First, the instructions are about building against the master branch which is built against the developmental releases of Avalonia not some fixed NuGet Deployed version yet. I’m not doing that so it was one more thing I’d have to maintain. Second, the Git repo uses sub-modules. There are a few potential tweaks to the instructions you need to do when synchronizing that to get this working with a release tag.
So first, make sure you have .NET Core 2.2 or higher installed on your system:
dotnet --version
The result should read something like this 2.2.203. Next we need to pull down the source code from the repository.
git clone https://github.com/VitalElement/AvalonStudio.git --recurse-submodules
The --recurse-submodules here is important because the AvalonStudio project has sub-modules that it needs to load as well. This is telling Git to load all of that. Along with the usual text from a synchronization you will see something like the following at the end of the clone operation:
Submodule path 'AvalonStudio/Avalonia.Ide/src/external/AvaloniaEdit': checked out '9eb9bb1bd5a720bccba011bd09c6731875187abe'
Submodule path 'AvalonStudio/Avalonia.Ide/src/external/lsp/csharp-language-server-protocol': checked out '772397d076e4fd7c3253d74b95f8711529f896a0'
Submodule path 'AvalonStudio/Avalonia.Ide/src/external/pngcs/pngcs': checked out '7f447a40bb4bbfd08a96e56bc9b1a5822d06b41d'
Submodule path 'AvaloniaEdit': checked out 'cadb5c76ba11f7d685cf36dccfbb51df2c73ebc3'
Submodule path 'debugger-libs': checked out '49baeb1c413c2d3cc82301b8dfa820fce6d6f52c'
Submodule path 'templating': checked out '80fc016c6a4d9e8cff1a768c0915a795fa389688'
At this point if we want to build the current latest development version we could begin that process. However in my case the current head required a developmental build of Avalonia too. I therefore decided to go with one of the release builds. We can determine which releases are available by listing the tags with a simple git tag command (first cd into the directory). When I ran it the latest tagged build was v0.6.2 so I checked it out with git checkout v0.6.2. Do the same for whichever release you are interested in. At this point we’ve checked out the correct AvalonStudio source but we have to get our sub-modules squared away too. This is done with a simple sub modules command:
git submodule update --init --recursive
Which produces the following output on my machine at the time of writing:
Submodule 'DataGrid' (https://github.com/AvaloniaUI/DataGrid.git) registered for path 'DataGrid'
Cloning into '/home/hankgrabowski/tmp/at/AvalonStudio/DataGrid'...
Submodule path 'AvalonStudio.Shell': checked out '4e6311345823cadcb8f49799eacff2e47d8806a0'
Submodule path 'AvalonStudio.TerminalEmulator': checked out 'bea1d6c9b53b9ffab01b6fb86df4237ab81e854c'
Submodule path 'DataGrid': checked out '90188a21e1ce3ee60bb9fb144c9224f6ee8faa99'
Submodule path 'debugger-libs': checked out 'df1adef4f077ab1bef4ab6366426b8663948fdde'
As you can see a couple new sub-modules were brought in which are appropriate for this release (there is some refactoring going on). You can see that the debugger-libs has checked out a different version (in my case) for v0.6.2 than the head of the master development branch. This is expected since Git is keeping the correct sub-module version for this revision. For more information on Git Sub-modules check out the main Git Documentation on the subject
. With our repository prepped we can now go about building.
cd AvalonStudio/AvalonStudio
dotnet restore
The project file for AvalonStudio is in the nested sub-directory structure above. So yes, from the root of your file system it will look like you are three layers deep in AvalonStudio directories. Next we need to restore the dependencies, which is what the dotnet restore command is doing. Now it is time to build. You have two options here:
dotnet build: Do this command if you want to build the debug version of the library. This is actually the equivalent of runningdotnet build -c Debug.dotnet build -c Release: Do this command if you want to build the release version of the library.
If you aren’t planning on doing any debugging I would highly recommend running the release version. It will be far more responsive than the debug version, as one usually expects. Alternatively you can build both and then run whichever one you want depending on if you need to debug something or not. With the compilation hopefully done (no errors just warnings at best) you can now run the program. First cd down into either the debug or release binaries location. For my system’s release build it looks like:
bin/Release/netcoreapp2.2
In there you should see a bunch of files (literally a couple hundred or more). Included in them will be the main library for AvalonStudio, AvalonStudio.dll. If you don’t see this then the build went wrong somewhere. If you do see it you are ready to run it by simply passing it to the dotnet runtime:
dotnet ./AvalonStudio.dll
After a few moments AvalonStudio will lanuch looking like below (my system running Linux Mint MATE):
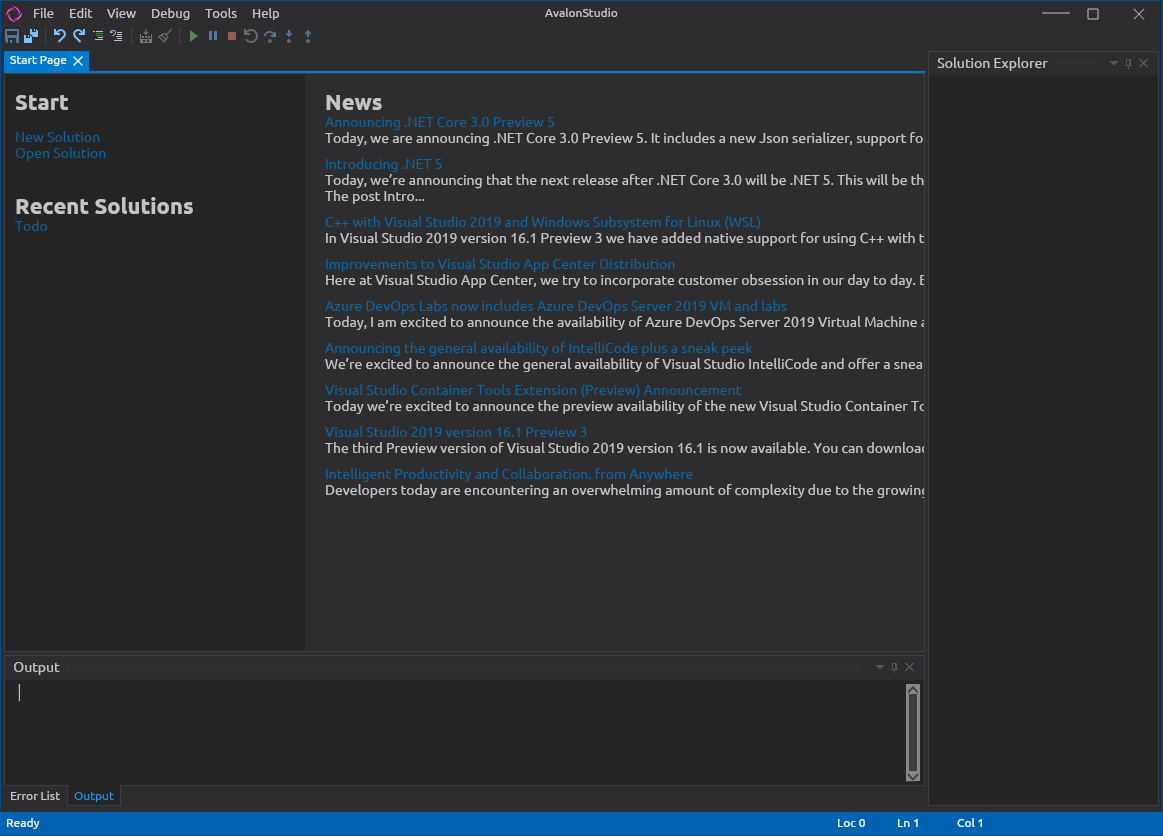
AvalonStudio on Linux Mint MATE
From there you can load or create a new solution, create new controls, direct edit with IntelliSense the Avalonia XAML and a whole bunch more. Again, this is still under a lot of development and in beta. It doesn’t have stuff I would consider to be really important like a unit test framework. It has the rough edges you expect of a piece of software under major deveolpment too. But it works. I’m going to be using this plus JetBrain’s Rider IDE to develop my first Avalonia apps. I expect I’ll be using AvalonStudio for the XAML editing as well as to replace the dotnet command line tools since AvalonStudio won’t have the default name space issue I highlighted in my initial impressions post .