


 2021-08-31
in
2021-08-31
in

 7 min read

When someone comes to me asking how to get started with making bread I usually point them to Jim Lahey’s no-knead bread technique which was made famous in the New York Times, video link here . It is a dirt simple way to get tasty bread which most of the times comes out looking nice. However one potentially daunting part of it is the use of a dutch oven preheated to 500 degrees that one has to put the dough into. I was discussing this with my neighbors as a great thing to do with kids but the dutch oven step had me concerned. I therefore decided to try it with cold metal bowls and cookie sheets instead. As you can see above and below my first try didn’t come out perfect but I think it came out well enough to document it here.
Introduction
This recipe is identical to the original Jim Lahey one that can still be found on the NYT website behind a paywall. A copy can found here though. I’m repeating the steps verbatim up until the baking part where we will be replacing the pre-heated dutch oven with room temperature cookie sheets and metal bowls. Why?
First, not everyone has a dutch oven. Yes you can get a pretty inexpensive dutch oven from Lodge pretty easily. However it would be just one more thing getting in the way of making bread. Second working with a pre-heated dutch oven needs to be done very carefully. Anyone who has done any cooking has had the displeasure of accidentally cutting themselves with a knife. Anyone who has done baking has accidentally burned themselves too. I can tell you from first hand experience that even in the split second that your fingers are on the 500 degree Fahrenheit metal object it will burn a lot. That isn’t to dissuade people from doing that but again for someone who is new to it all it’s just one more thing they have to worry about when trying to deal with handling floppy dough, etc. The impetus for this is also to make something more approachable for children. Yes the pans and bowls are still hot coming out of the oven but that is expected versus when people accidentally forget that they have piping hot cooking vessels before putting it in the oven.
Lastly some steps are best demonstrated with video. Specifically watching someone mix the dough and watching them form the loaves will be very helpful. The video link above is a great source for that.
Ingredients
- 3 cups (400 g) of all purpose or bread flour, plus additional for dusting
- 1 1/3 cups (300 g) water (from tap is fine)
- 1 1/4 teaspoons (8 g) of salt
- 1/4 teaspoon (1 g) instant (bread machine) yeast
Directions
Step 1: In a large bowl add the flour, yeast, and salt together and mix.
Step 2: Add the water to the bowl and mix together until fully combined. You can start with a spoon and then move on to your hands. You want to make sure that there are no dry bits of flour left and it is fully mixed.
Step 3. Cover the bowl with a plate or towel and let it rest at room temperature. This can take anywhere from 12 to 24 hours depending on your room’s temperature. You want it to go until you see the dough has doubled or more in size and has bubbles on top. The low amount of yeast is what makes it take so much longer but the longer cycle is what gives it the complexity and lets the gluten form without kneading.
Step 4: Generously flour a clean counter or board. Using a spatula scrape the dough out on to the floured surface. Lightly flour your hands and lift the edges of the dough and fold on to the center, like you see in the YouTube video linked to above. The floured portion then becomes the outside crust of dough.
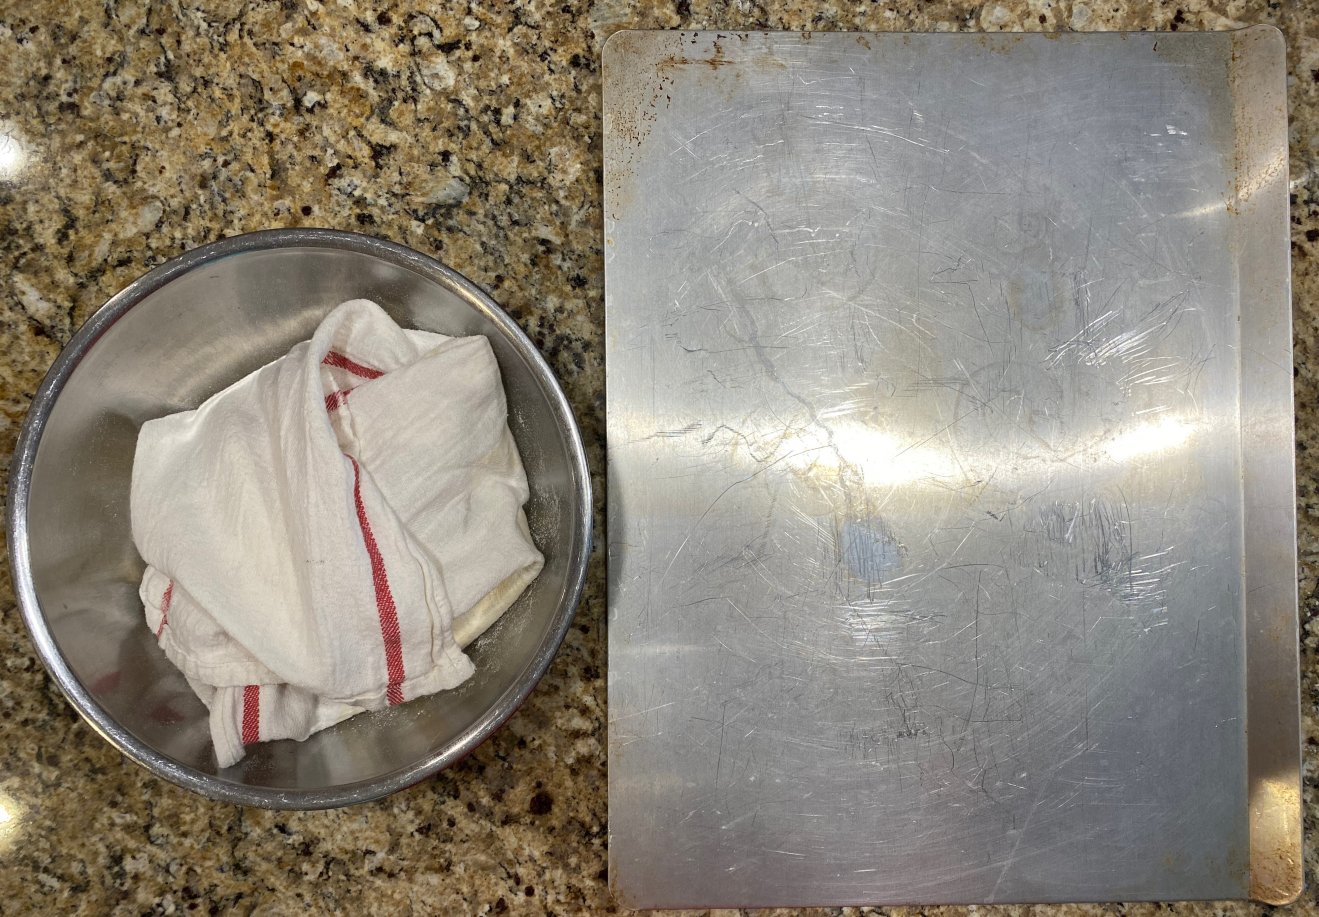
Step 5: Select an oven safe metal bowl which can easily fit the dough once it has more than doubled in size, which it will be doing. This will be the bowl we use during the baking step so making sure it is oven safe (no plastic handles, wood, etc) is important. You can just eyeball the size for this step. If you choose too large a bowl (like I did) it will simply lead to a potentially flatter loaf in the final product. Choosing too small a bowl will make later steps more complicated so best to err on the side of larger. Also make sure that it fits in the oven with your cookie sheet in the middle of the oven. Remove racks before turning oven on to be sure.
Step 6: Get a clean dishcloth and line the inside of the bowl with it. Generously flour the dishcloth with flour. The dough will be in contact with it for a couple of hours so this helps avoid sticking. With the cloth in the bowl and the dough formed in a ball put the dough in “seam side” down. Dust the top of the dough a bit and then cover with another cloth or with the excess cloth if you have a sufficiently large one (like I did). Let it rise for about two hours (don’t miss the oven preheat step below). You’ll know it is ready when it doesn’t bounce back right away. This can take a little more or less time. Worst case if you put it in a little too early the surface tears. If you put it in a little late, like mine did, then it doesn’t rise as much and you don’t get as big a crumb. It’ll still taste great. Below pictures show what mine looked like after the final rise.
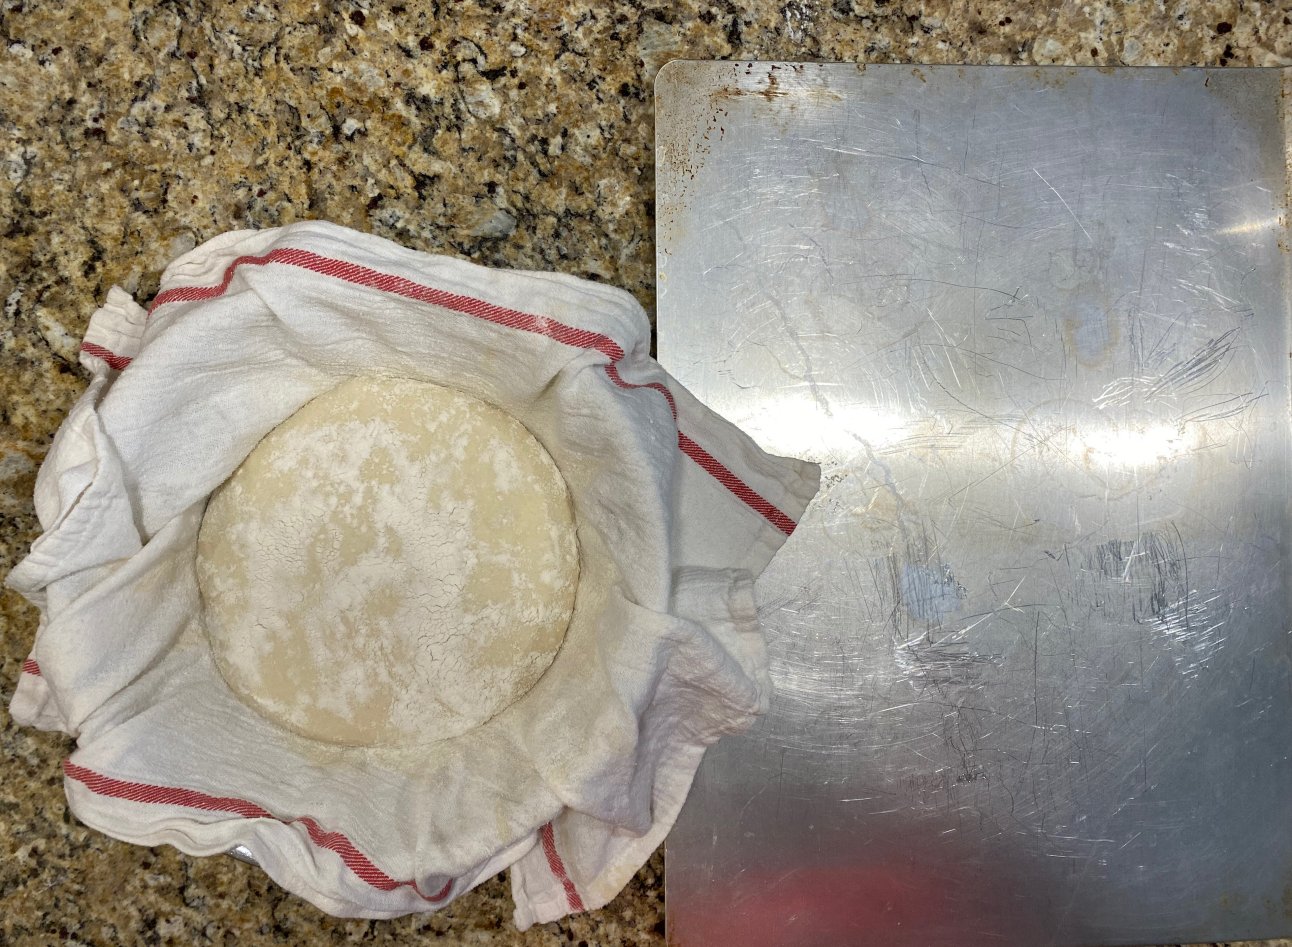
Step 7: 1.5 hours into the final dough rise preheat the oven to 450°F (232°C). When you are ready to bake the bread open the bowl and cloth as shown above. Generously dust the top (which will be the bottom) of the dough again to make sure it won’t stick to the cookie sheet. Put the cookie sheet upside down on top of the bowl and then flip the whole thing over. You now slowly lift the metal bowl off and then carefully peel back the cloth as well. The steps and result are below.
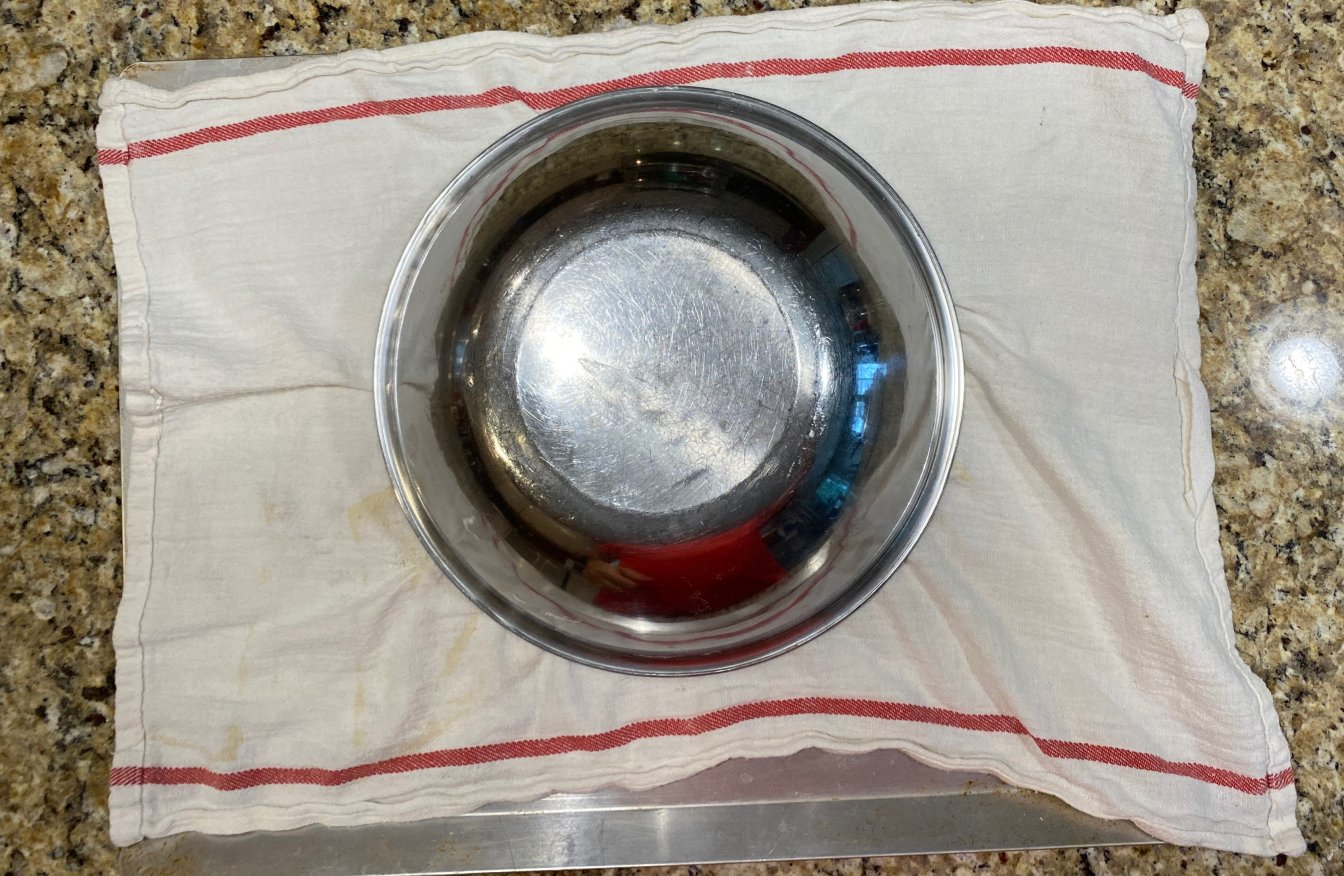
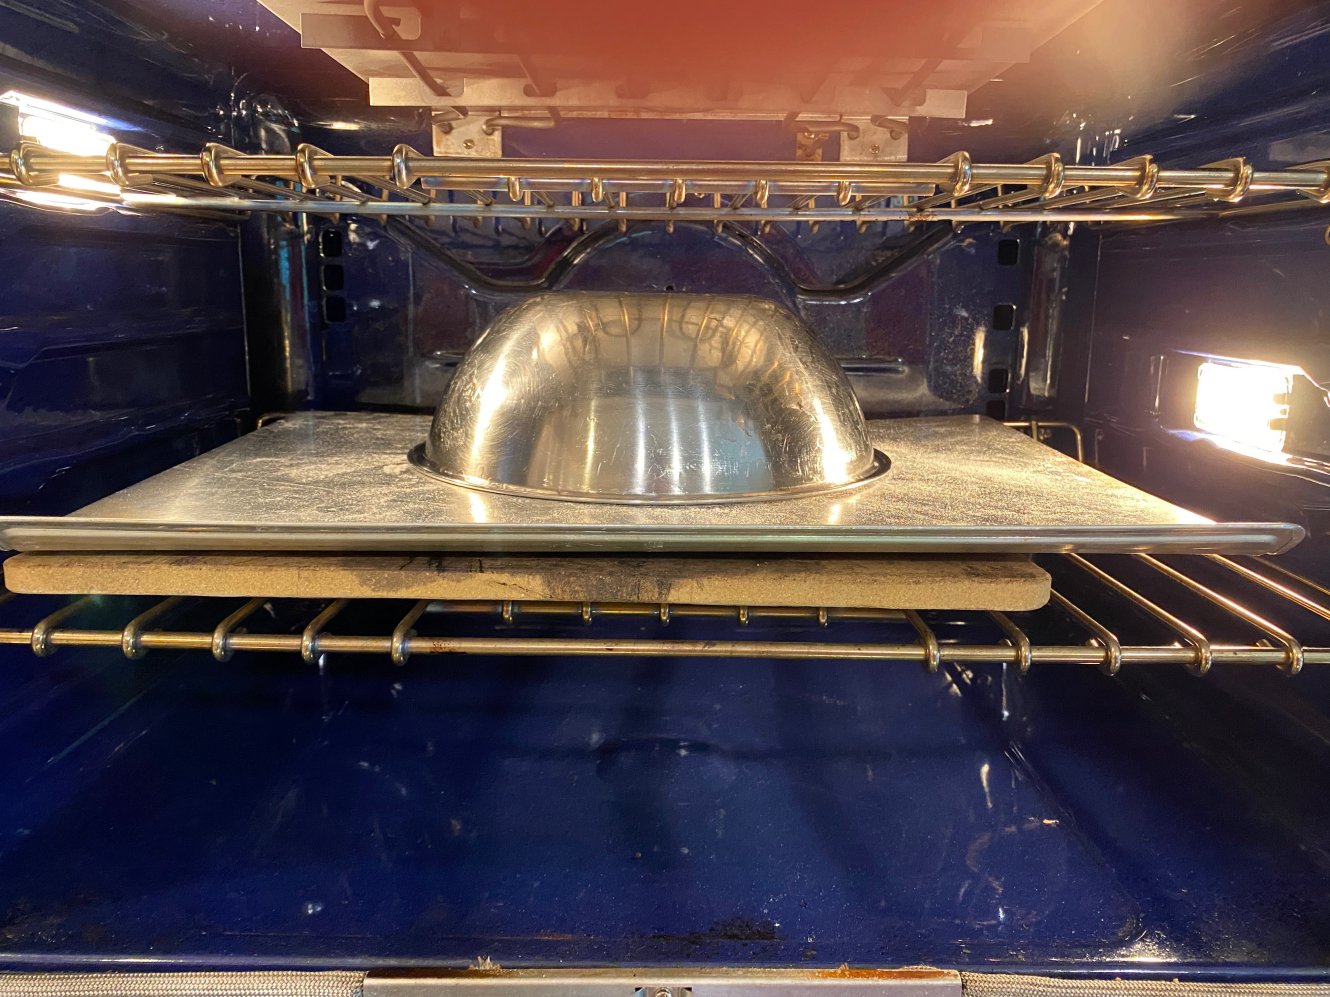
Step 8: Clean the bowl and place it over top of the ball of dough like a dome. You can leave the bowl a bit wet from the washing process. At worst it will do nothing. At best it will help steam the bread a bit which can make for a nicer crust and oven spring.
Step 9: Place the tray and bowl in the oven and bake like this for 30 minutes.
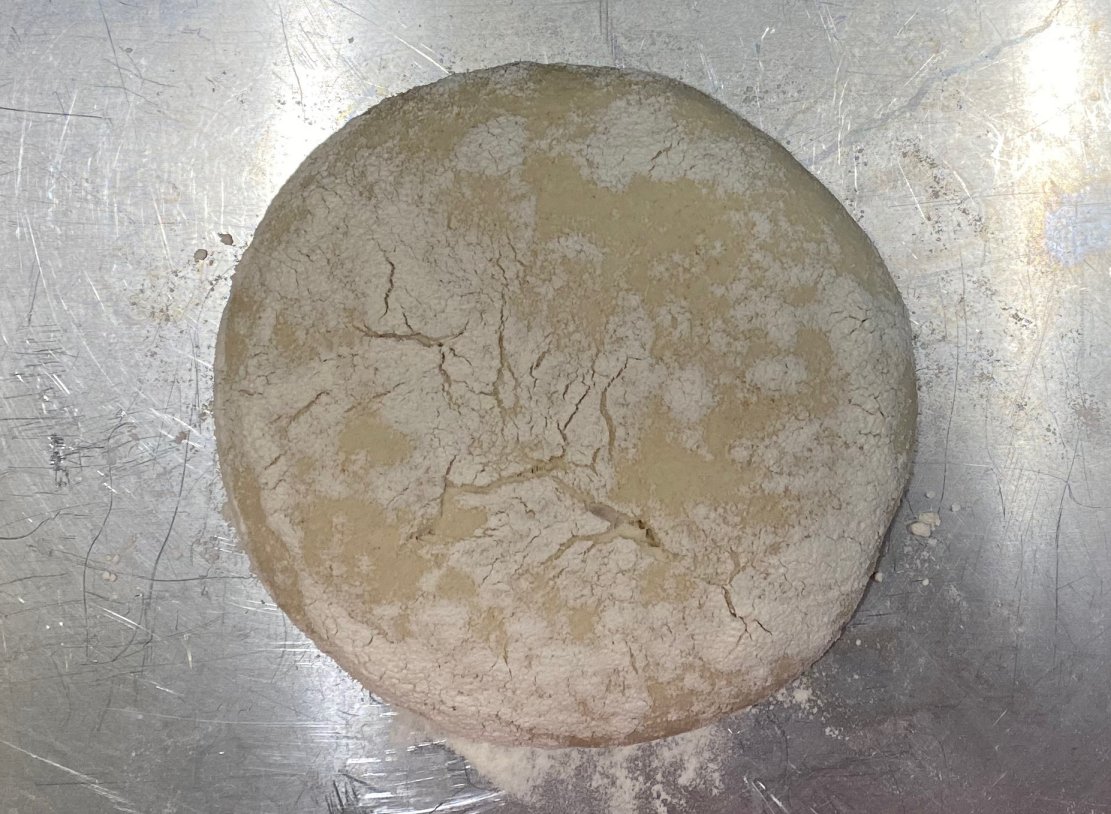
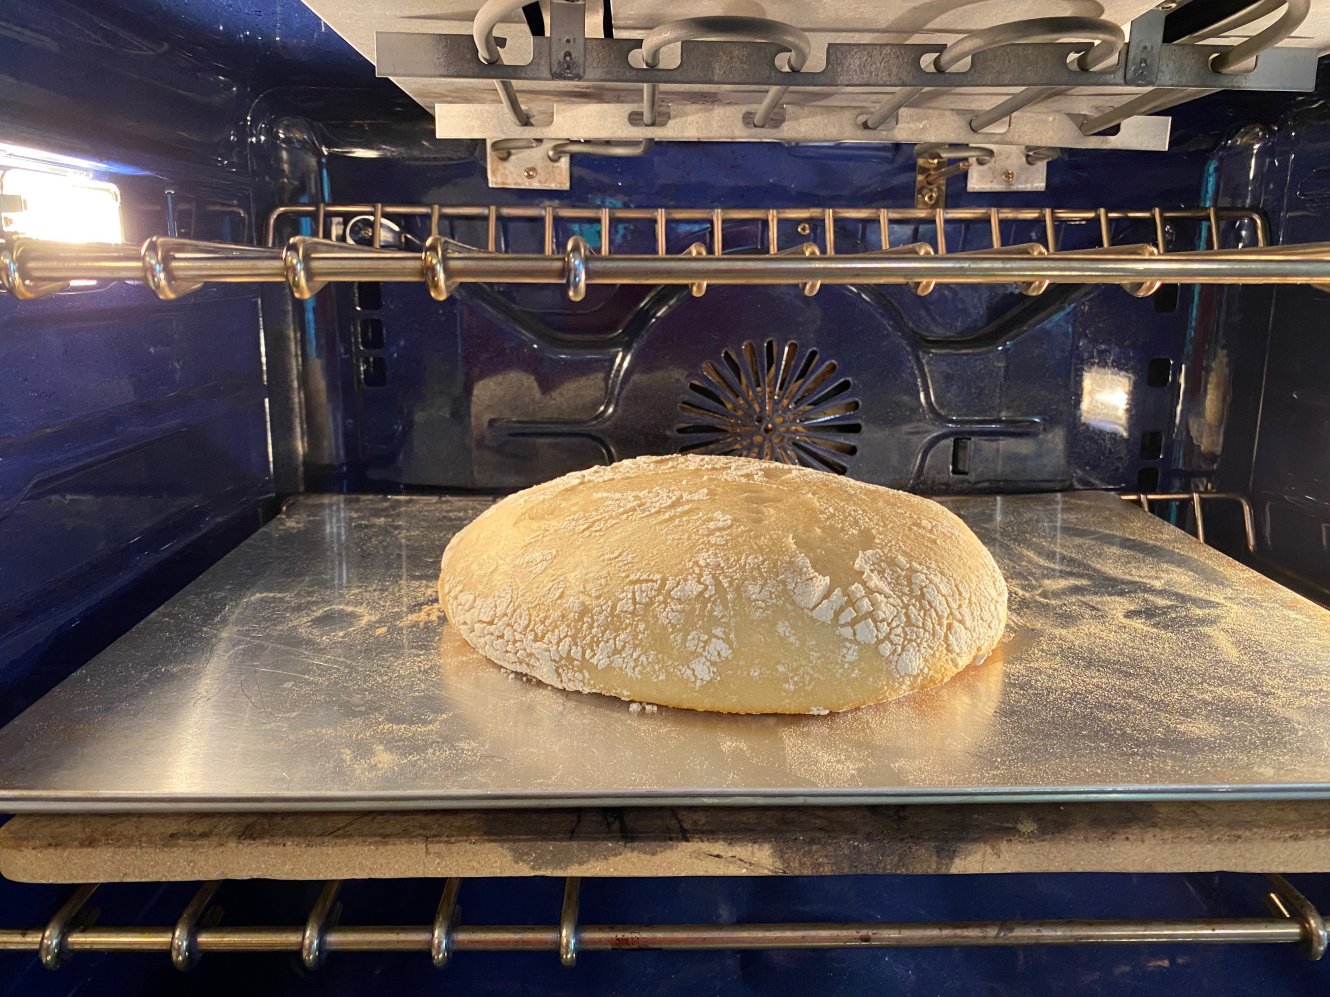
Step 10: Remove the bowl from the bread carefully (since it will now be the same temperature of the oven. Cook uncovered for an additional 15-30 minutes, until the crust gets a nice dark brown color. Below is a picture just after removing the bowl and then after another 20 minutes
Step 11: Remove the bread from the oven and put on a cooling rack to cool for at least 30 minutes. You’ll hear the crust crackling as it initially cools. After it has cooled you can cut into it and eat. The final broad looks like this:

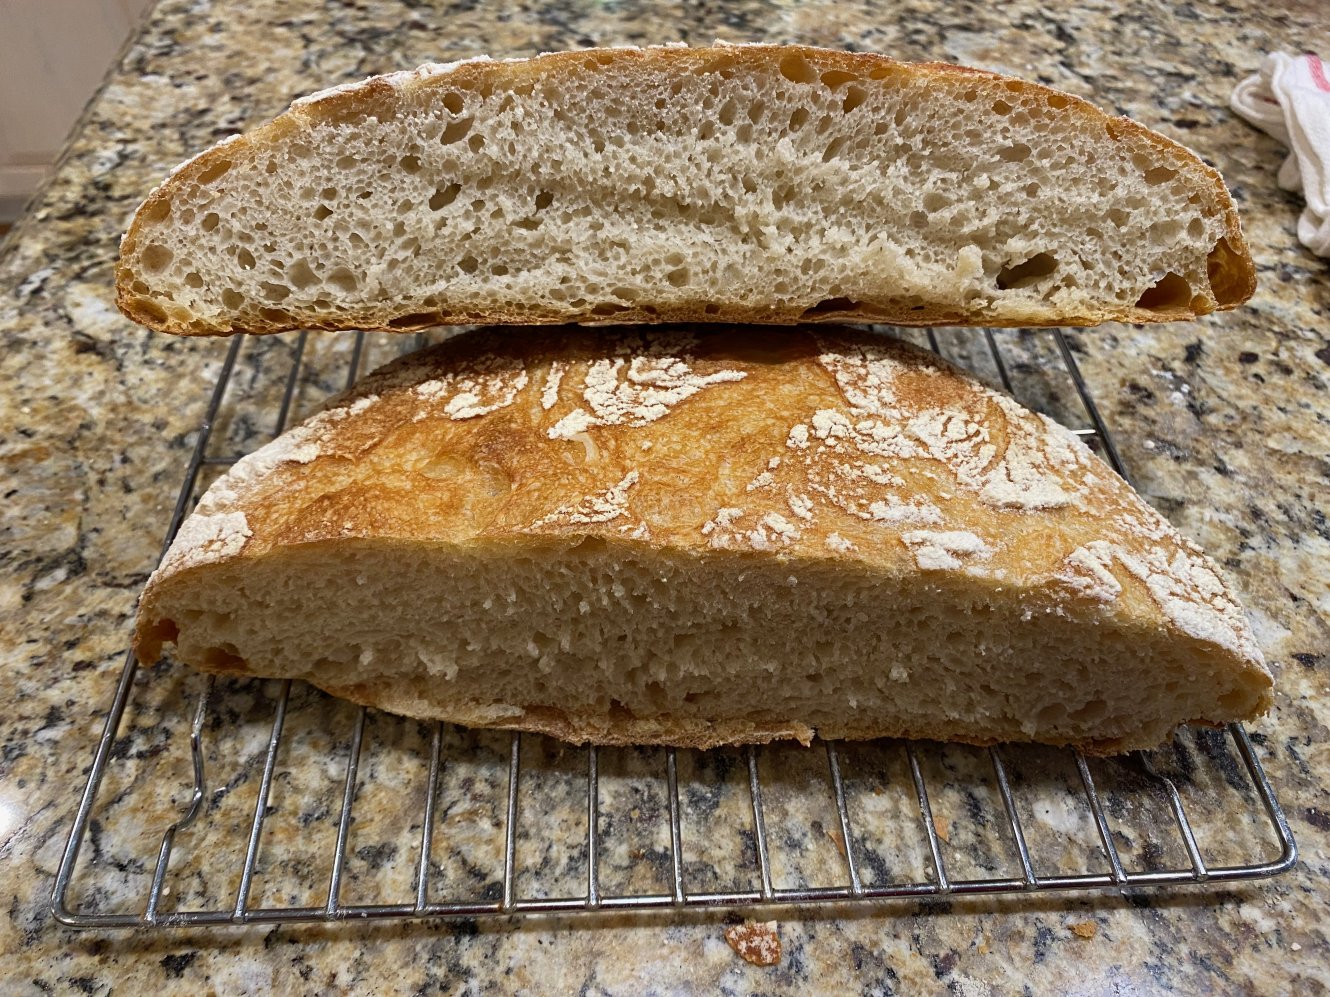
Conclusion
Hopefully these steps are pretty straight forward even for a novice baker. I’ve tried to detail them more explicitly than normal to make that happen. I also am showing my first experiment with this which technically has less than perfect results. Too often we see perfect bread pictures and think that’s the only way it tastes great. Often the one doesn’t have much to do with the other, especially when it comes to things like oven spring and the patterns cut on the surface. In this particular case the bowl was a bit too large and that first “proof” (the 12-24 hour one) went a bit too long. That’s why it didn’t have enough oomph to spring up when cooked. The shaping of the dough probably contributed too. However it turned out more than good enough. I wouldn’t sell it at a bakery but I would definitely serve it to guests at a party as well as eat it myself (which I’ve been doing all afternoon :)).