


 2021-08-19
in
2021-08-19
in

 8 min read
As a software engineer I know that having backups is important in case things are accidentally deleted or destroyed I also know that testing backups is an important thing to do. Simply having it doesn’t count. For my sourdough starter that I’ve been keeping going for over a decade and that the neighbor who gave me some has kept going since the mid-70s the fear of accidentally killing it means that it gets a backup. The backup is in the form of drying it out and storing it like that. I did this several years ago with mixed success. Now that I have a food dehydrator I have a much better backup. It’s so good that some friends want some for themselves to get started with sourdough. I therefore have decided to document the process of reactivating the dried starter. This whole process takes 4-5 days to go from dried flakes to making a fully raised real loaf of bread.
Reactivating
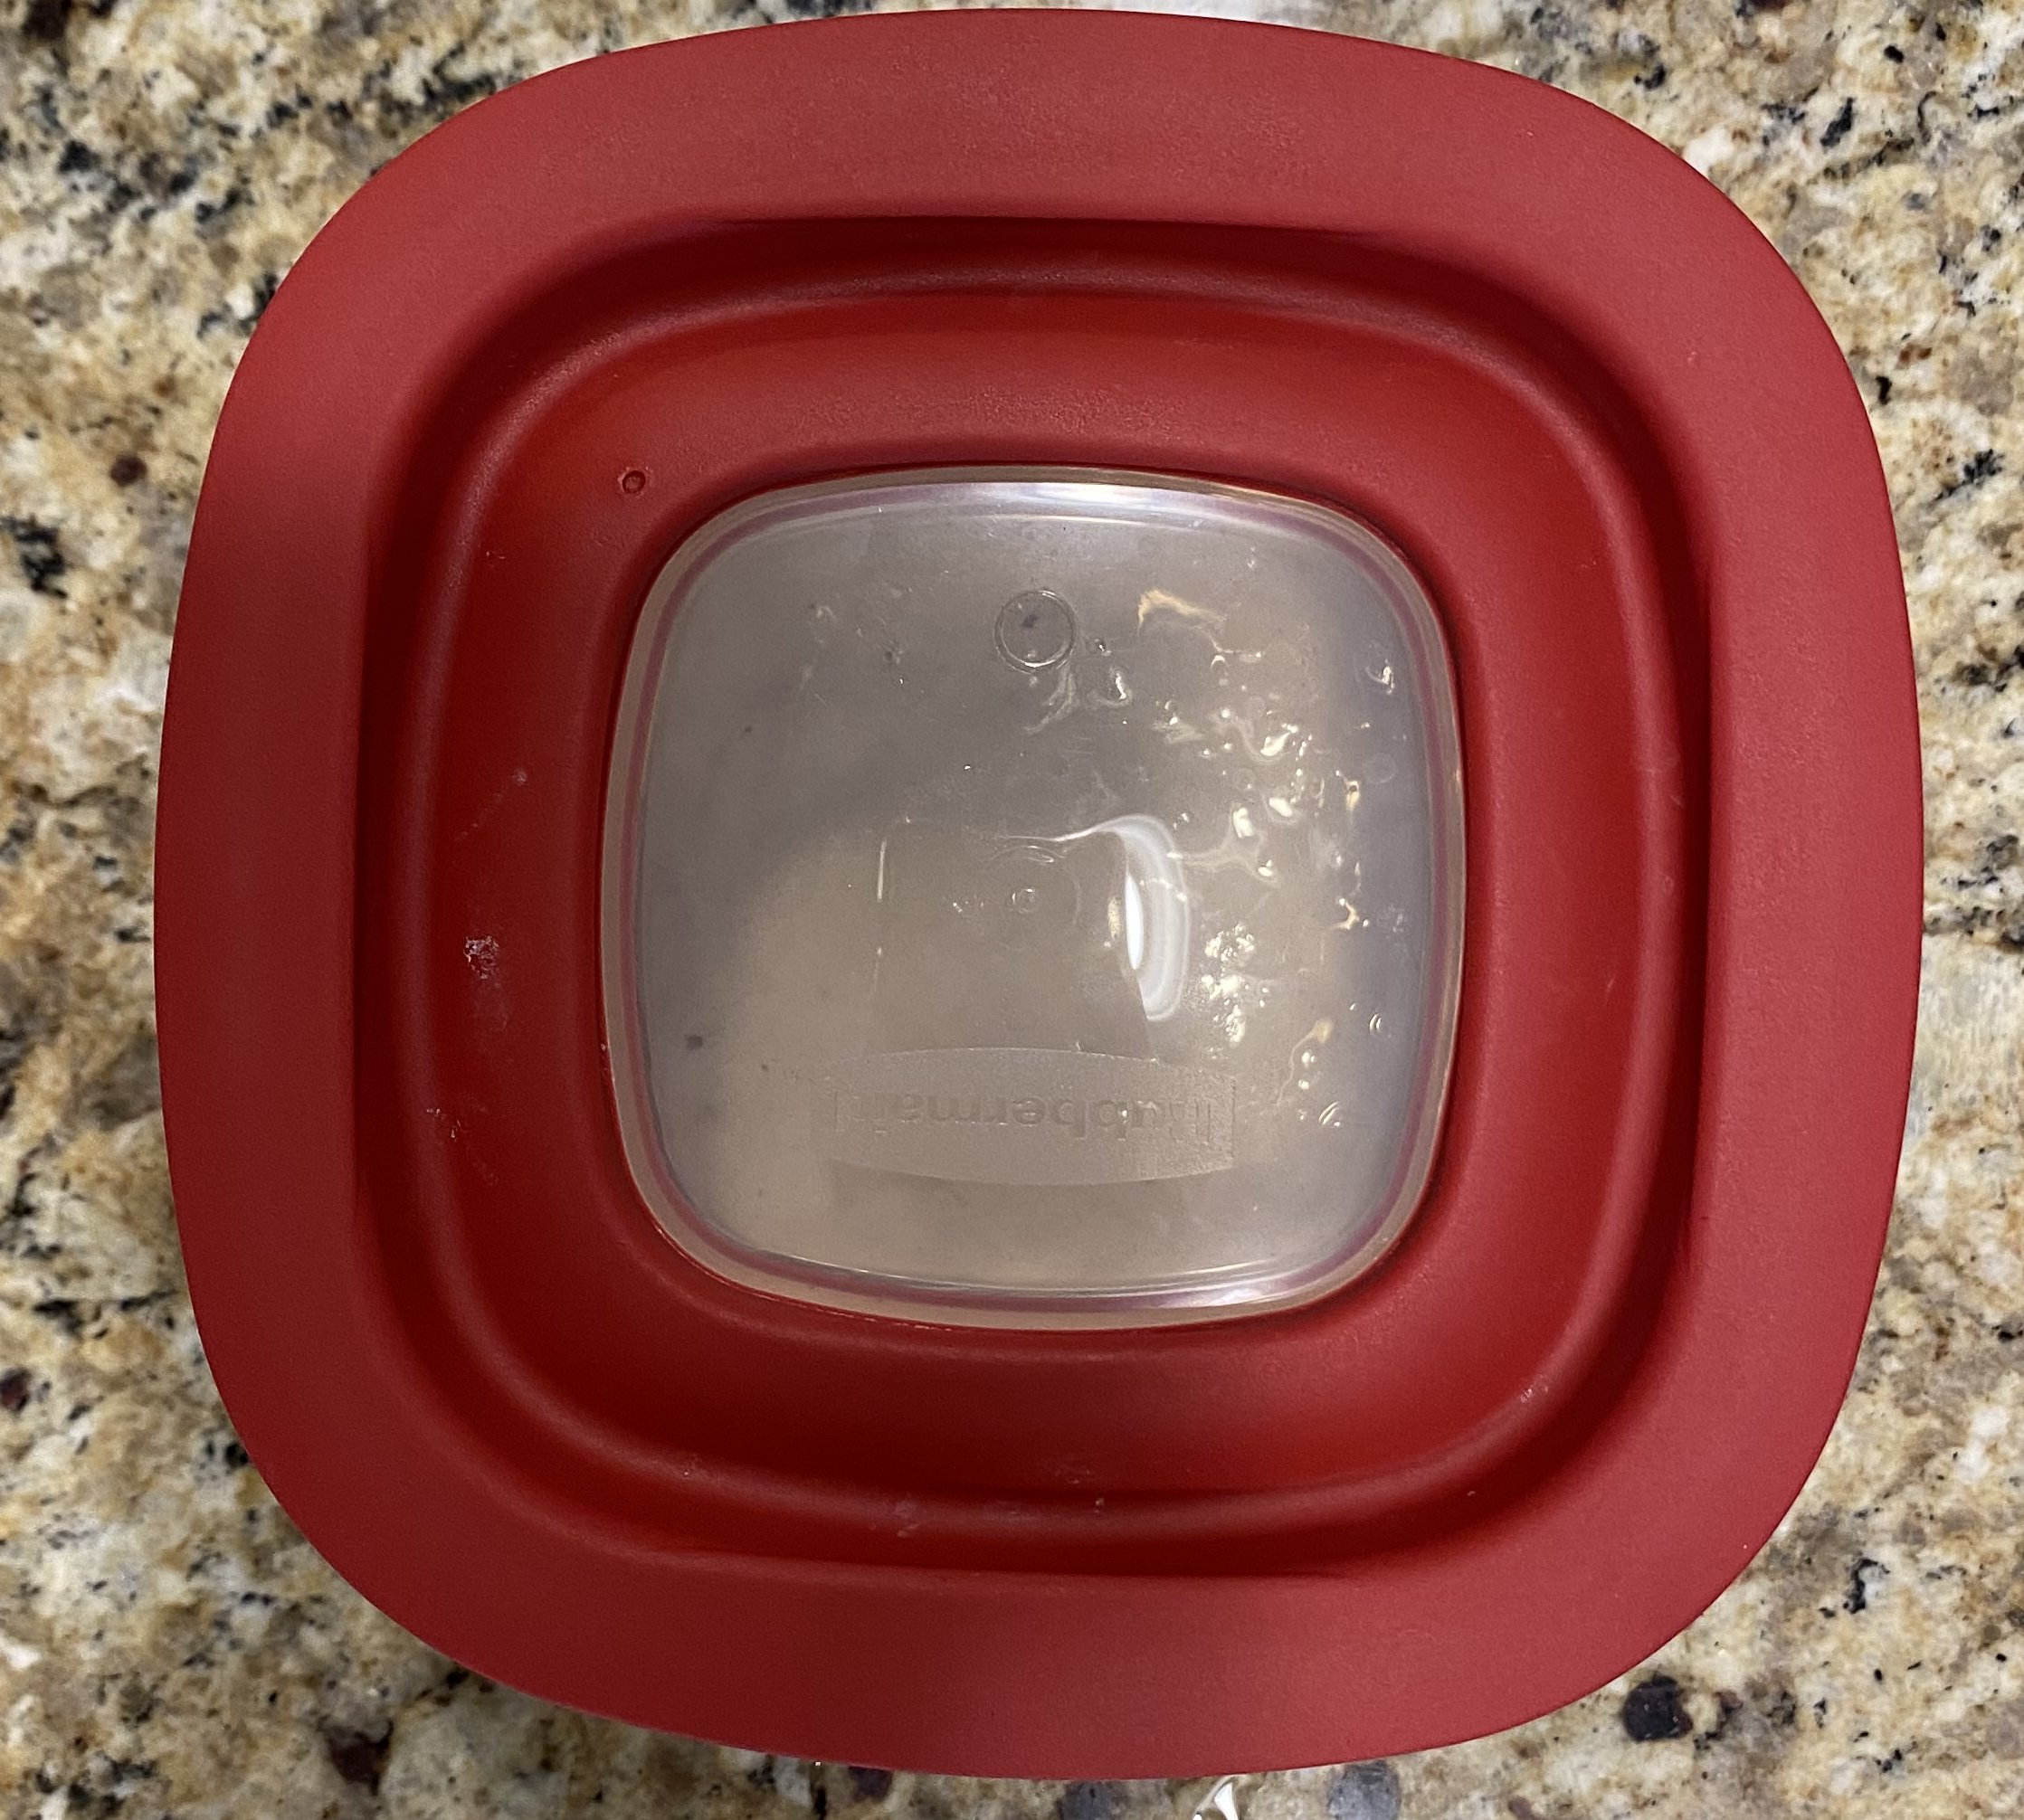
The process of reactivating the starter is very simple. First we re-hydrate the starter flakes. Then we feed it a couple times. Then we are ready to start using it. The big question will be volume of contents that are used, how much time, and how you know how things are going. First tool you’ll need to do this well will be a scale which measures down to grams. These aren’t as expensive as they may sound. You can find them for less than $20 but my favorite is the MyWeigh KD-7000 which is just under $50. Next you’ll need some containers that you can cover to store the starter. Plastic storage containers work great because they have sealable lids that will pop if the gas builds up too much as the yeast do their thing. I also use jars but it is important to not totally seal the jar lid otherwise you could be creating a little bomb. The last thing you’ll need is some regular unbleached all purpose flour. If you prefer you can use white whole wheat, whole wheat, or even bread flour. The only kind of wheat flour you don’t want is self rising because it has leavening agents in it. My go to flour is King Arthur’s All Purpose flour (in the white and red bag).
Now let’s get started:
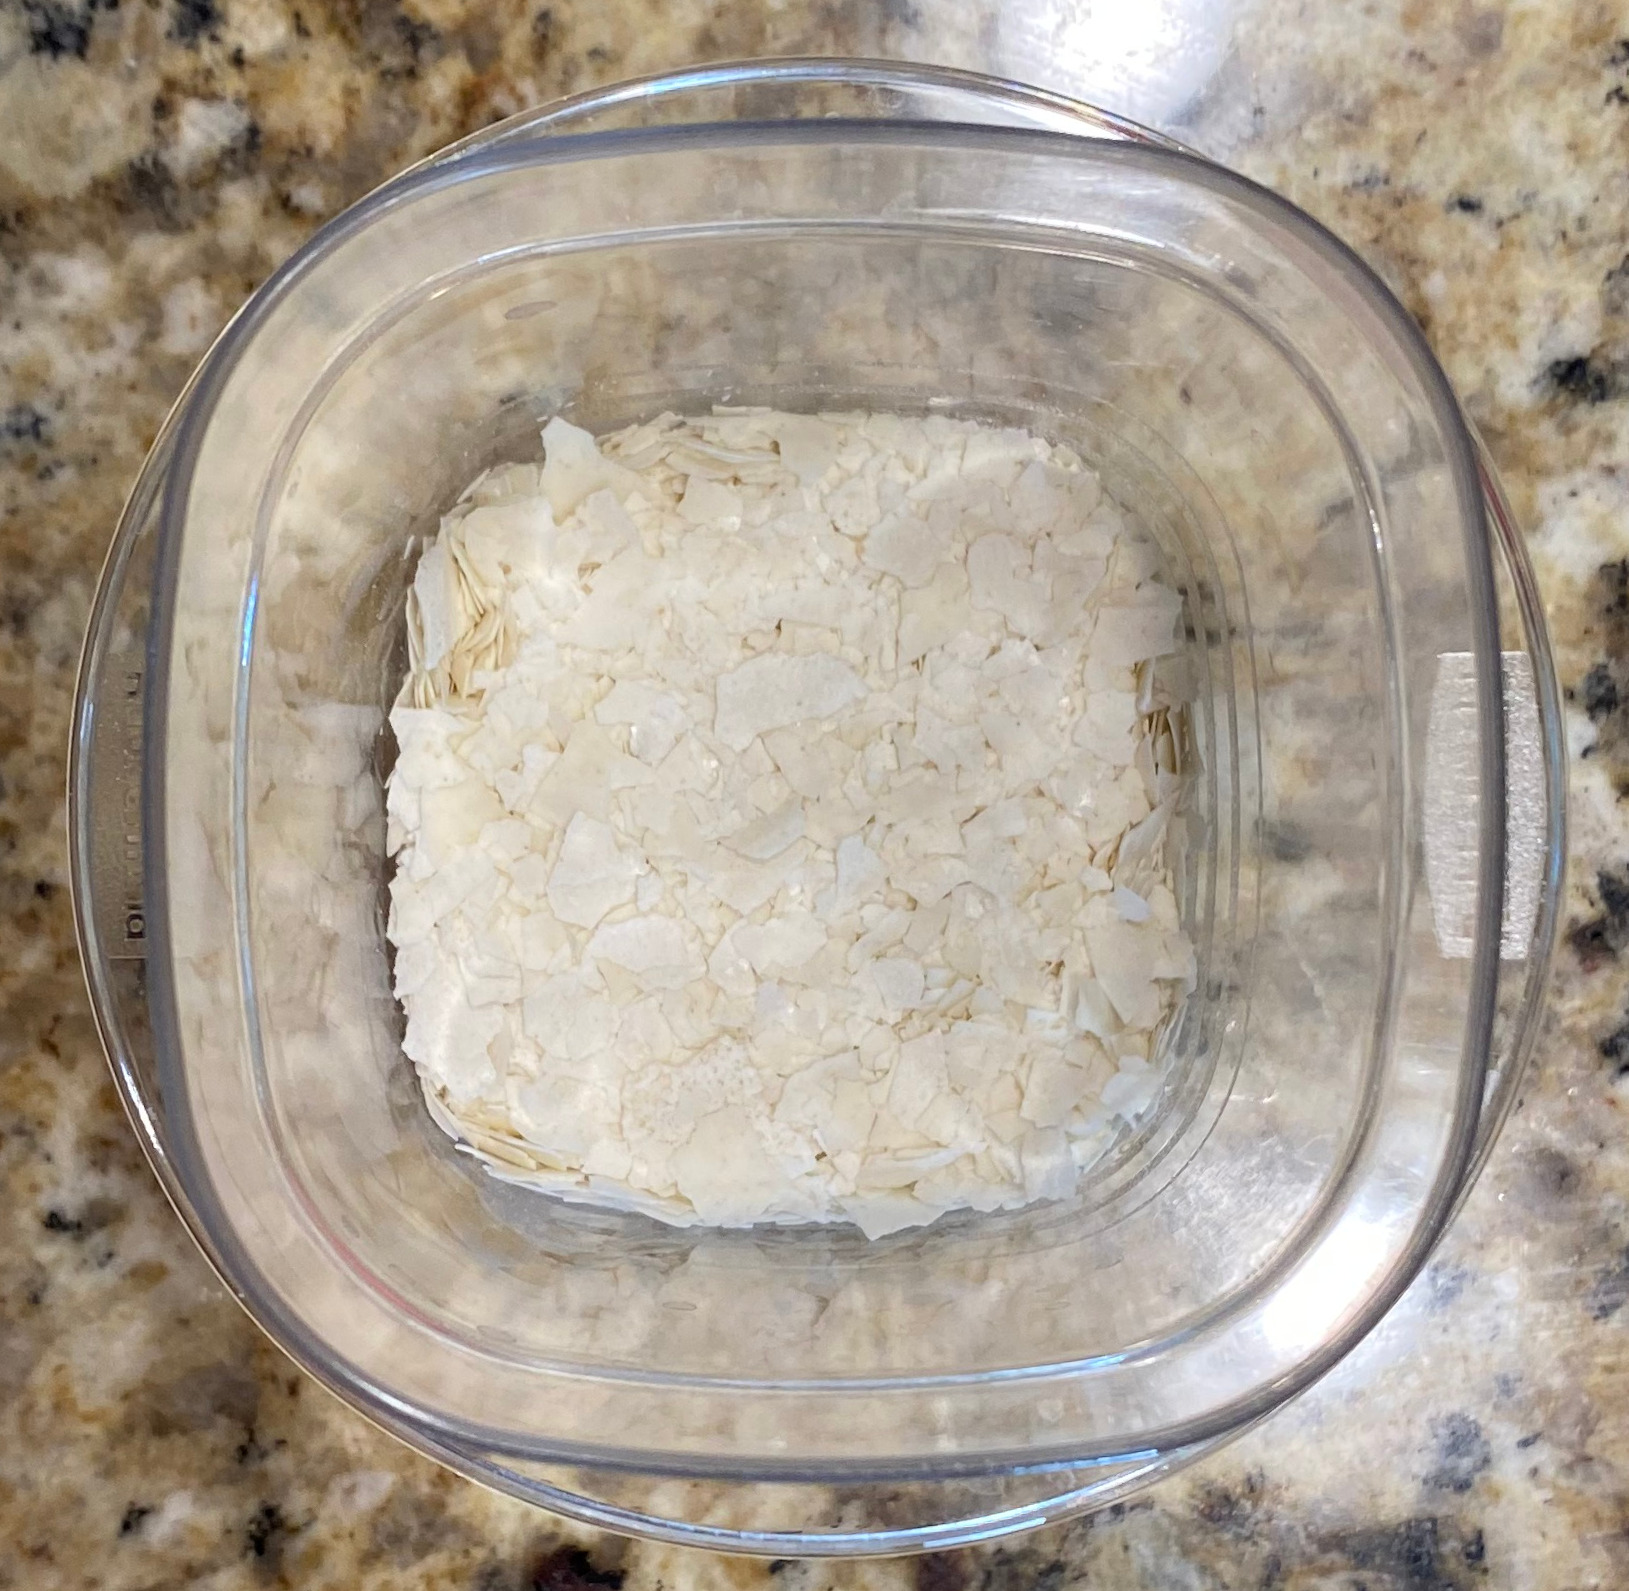
First add measure out 15 grams of the starter into a small bowl or mini Tupperware container:
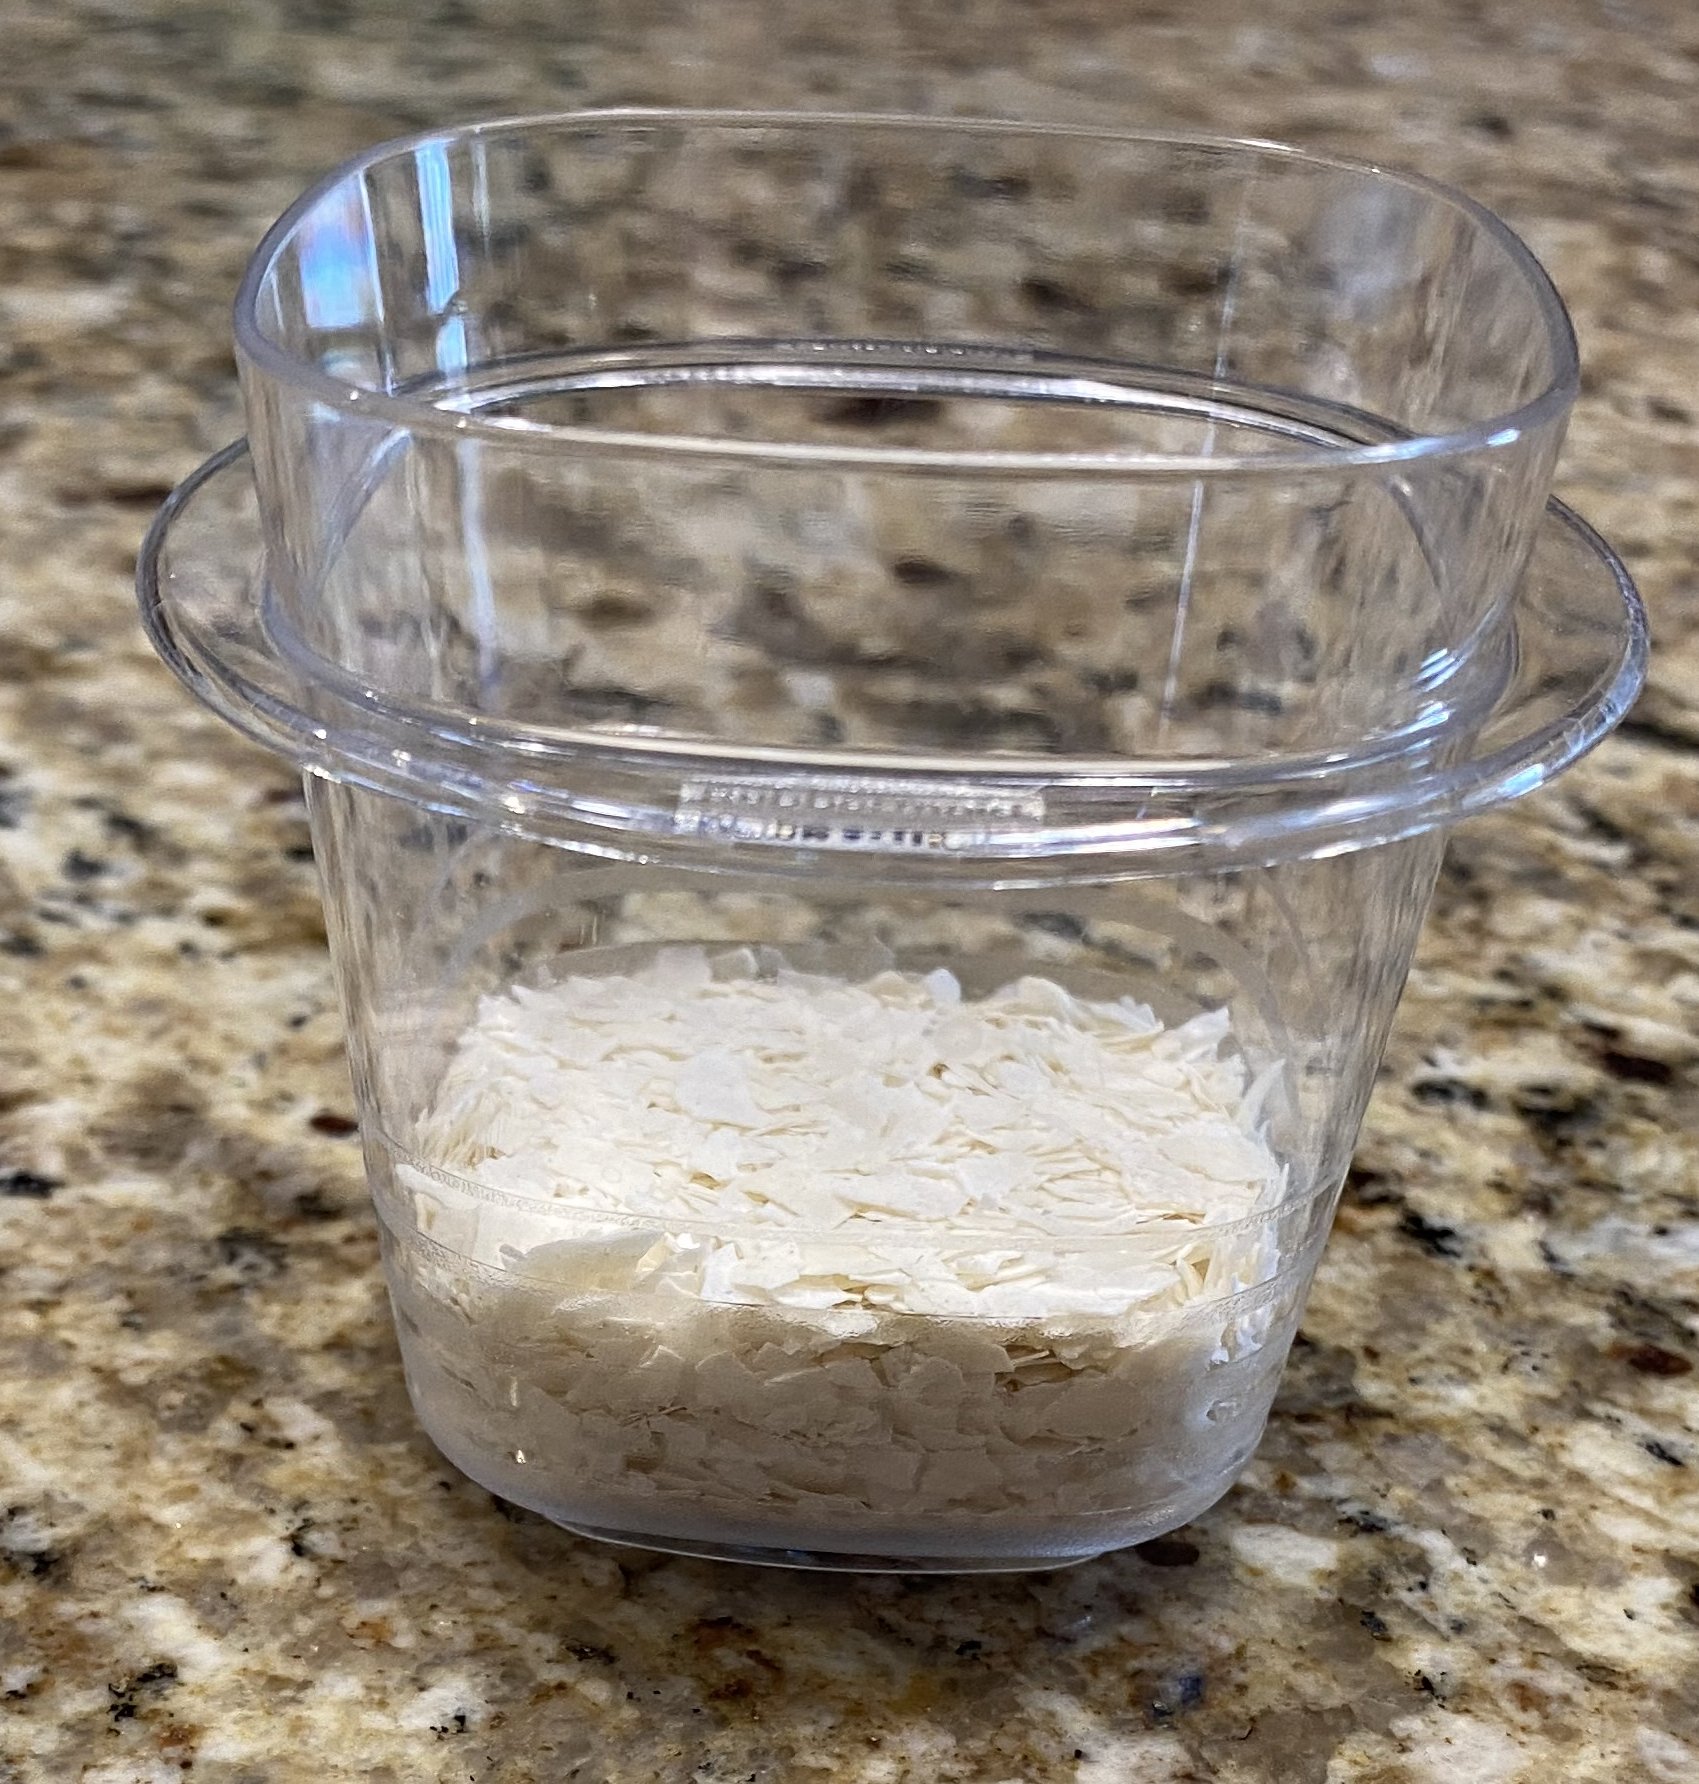
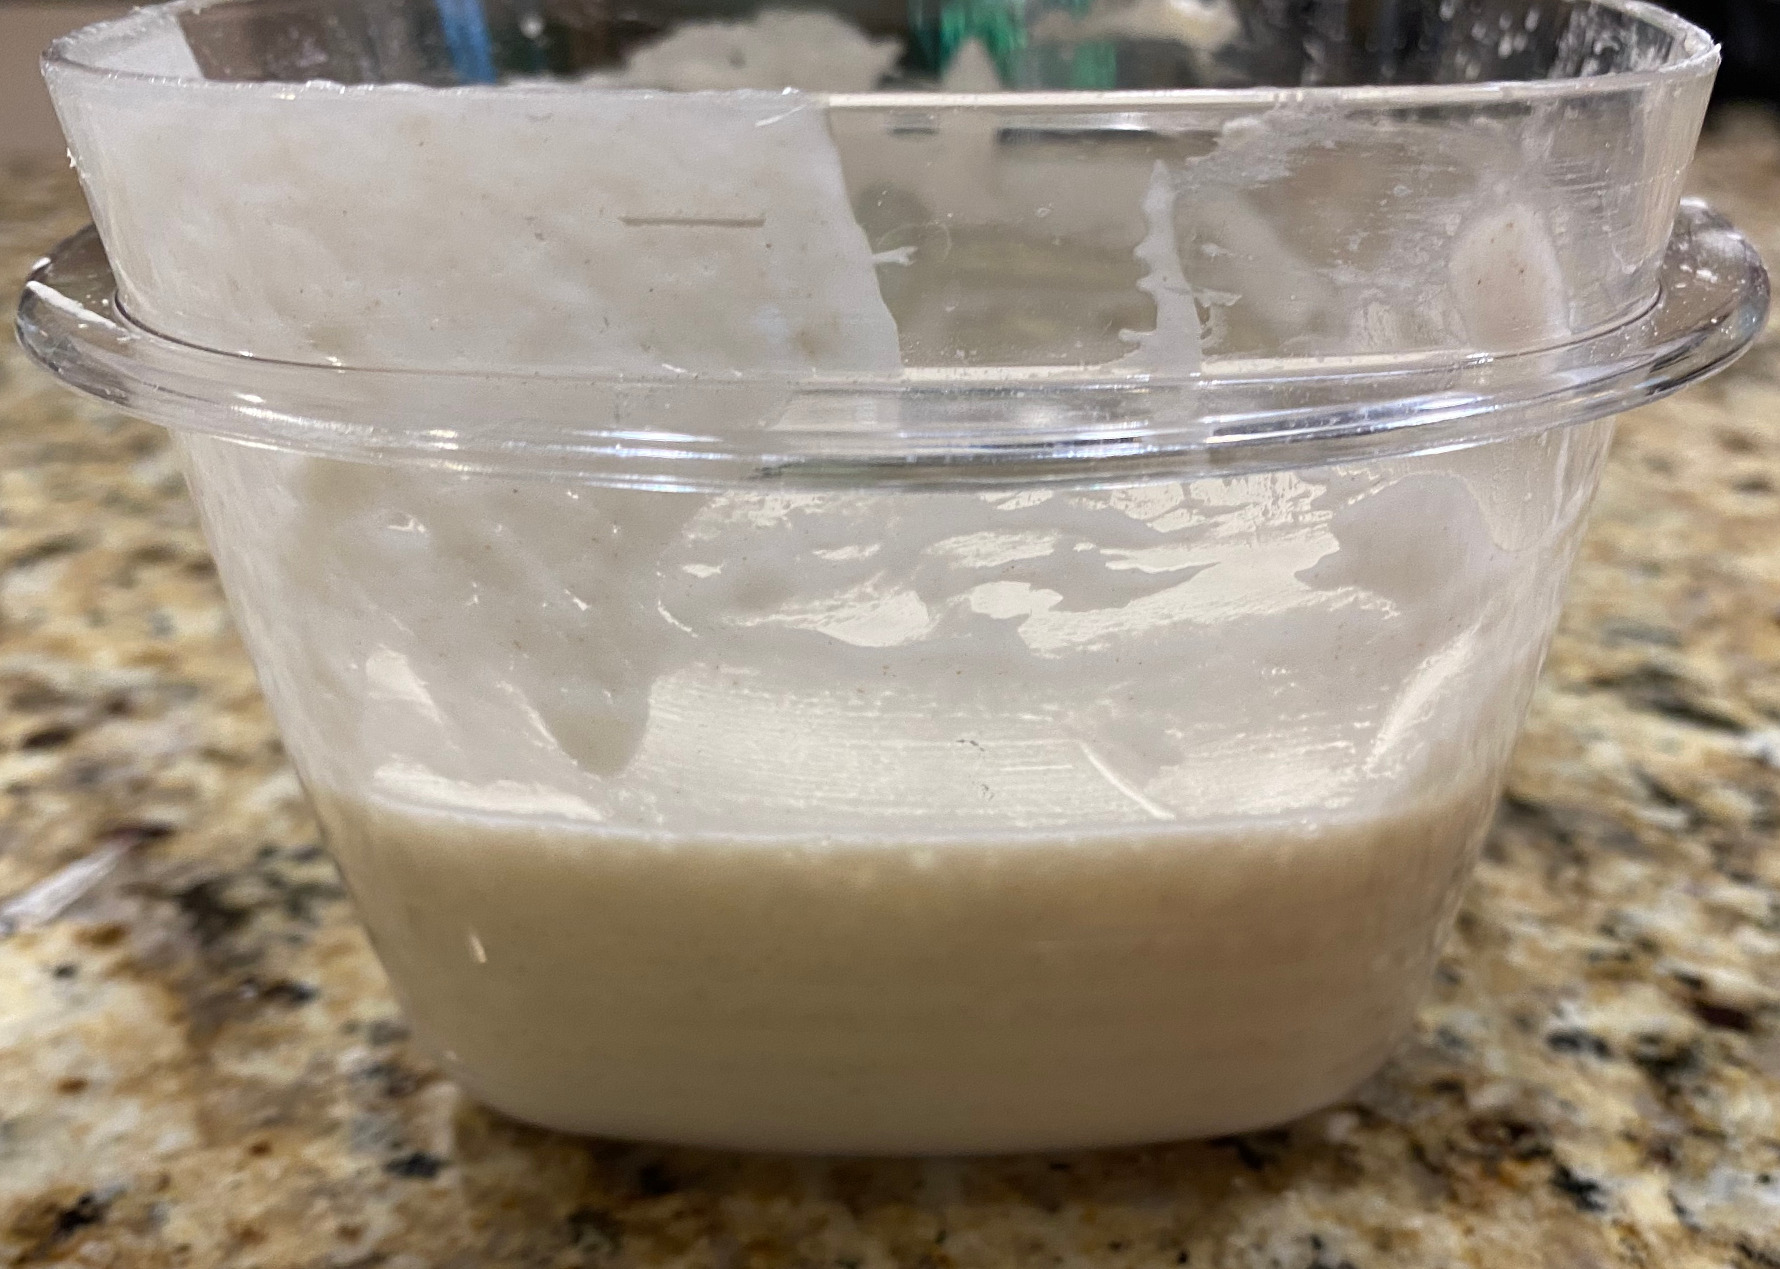
To this we are going to add 65 grams (65 mL) of water. If you used a small Tupperware container (mine is a 4 oz/118 mL container) then you can put the cap on it and shake it a bunch. If you are doing a small bowl then stir it to try to mix things up a bit with a small spoon. You’ll need to do this every 30 minutes or so over a couple hours. Be sure to cover the bowl or leave the lid on the whole time. The flakes won’t fully dissolve but it should penetrate pretty well. Below is a picture of what it looks like after a couple of hours:
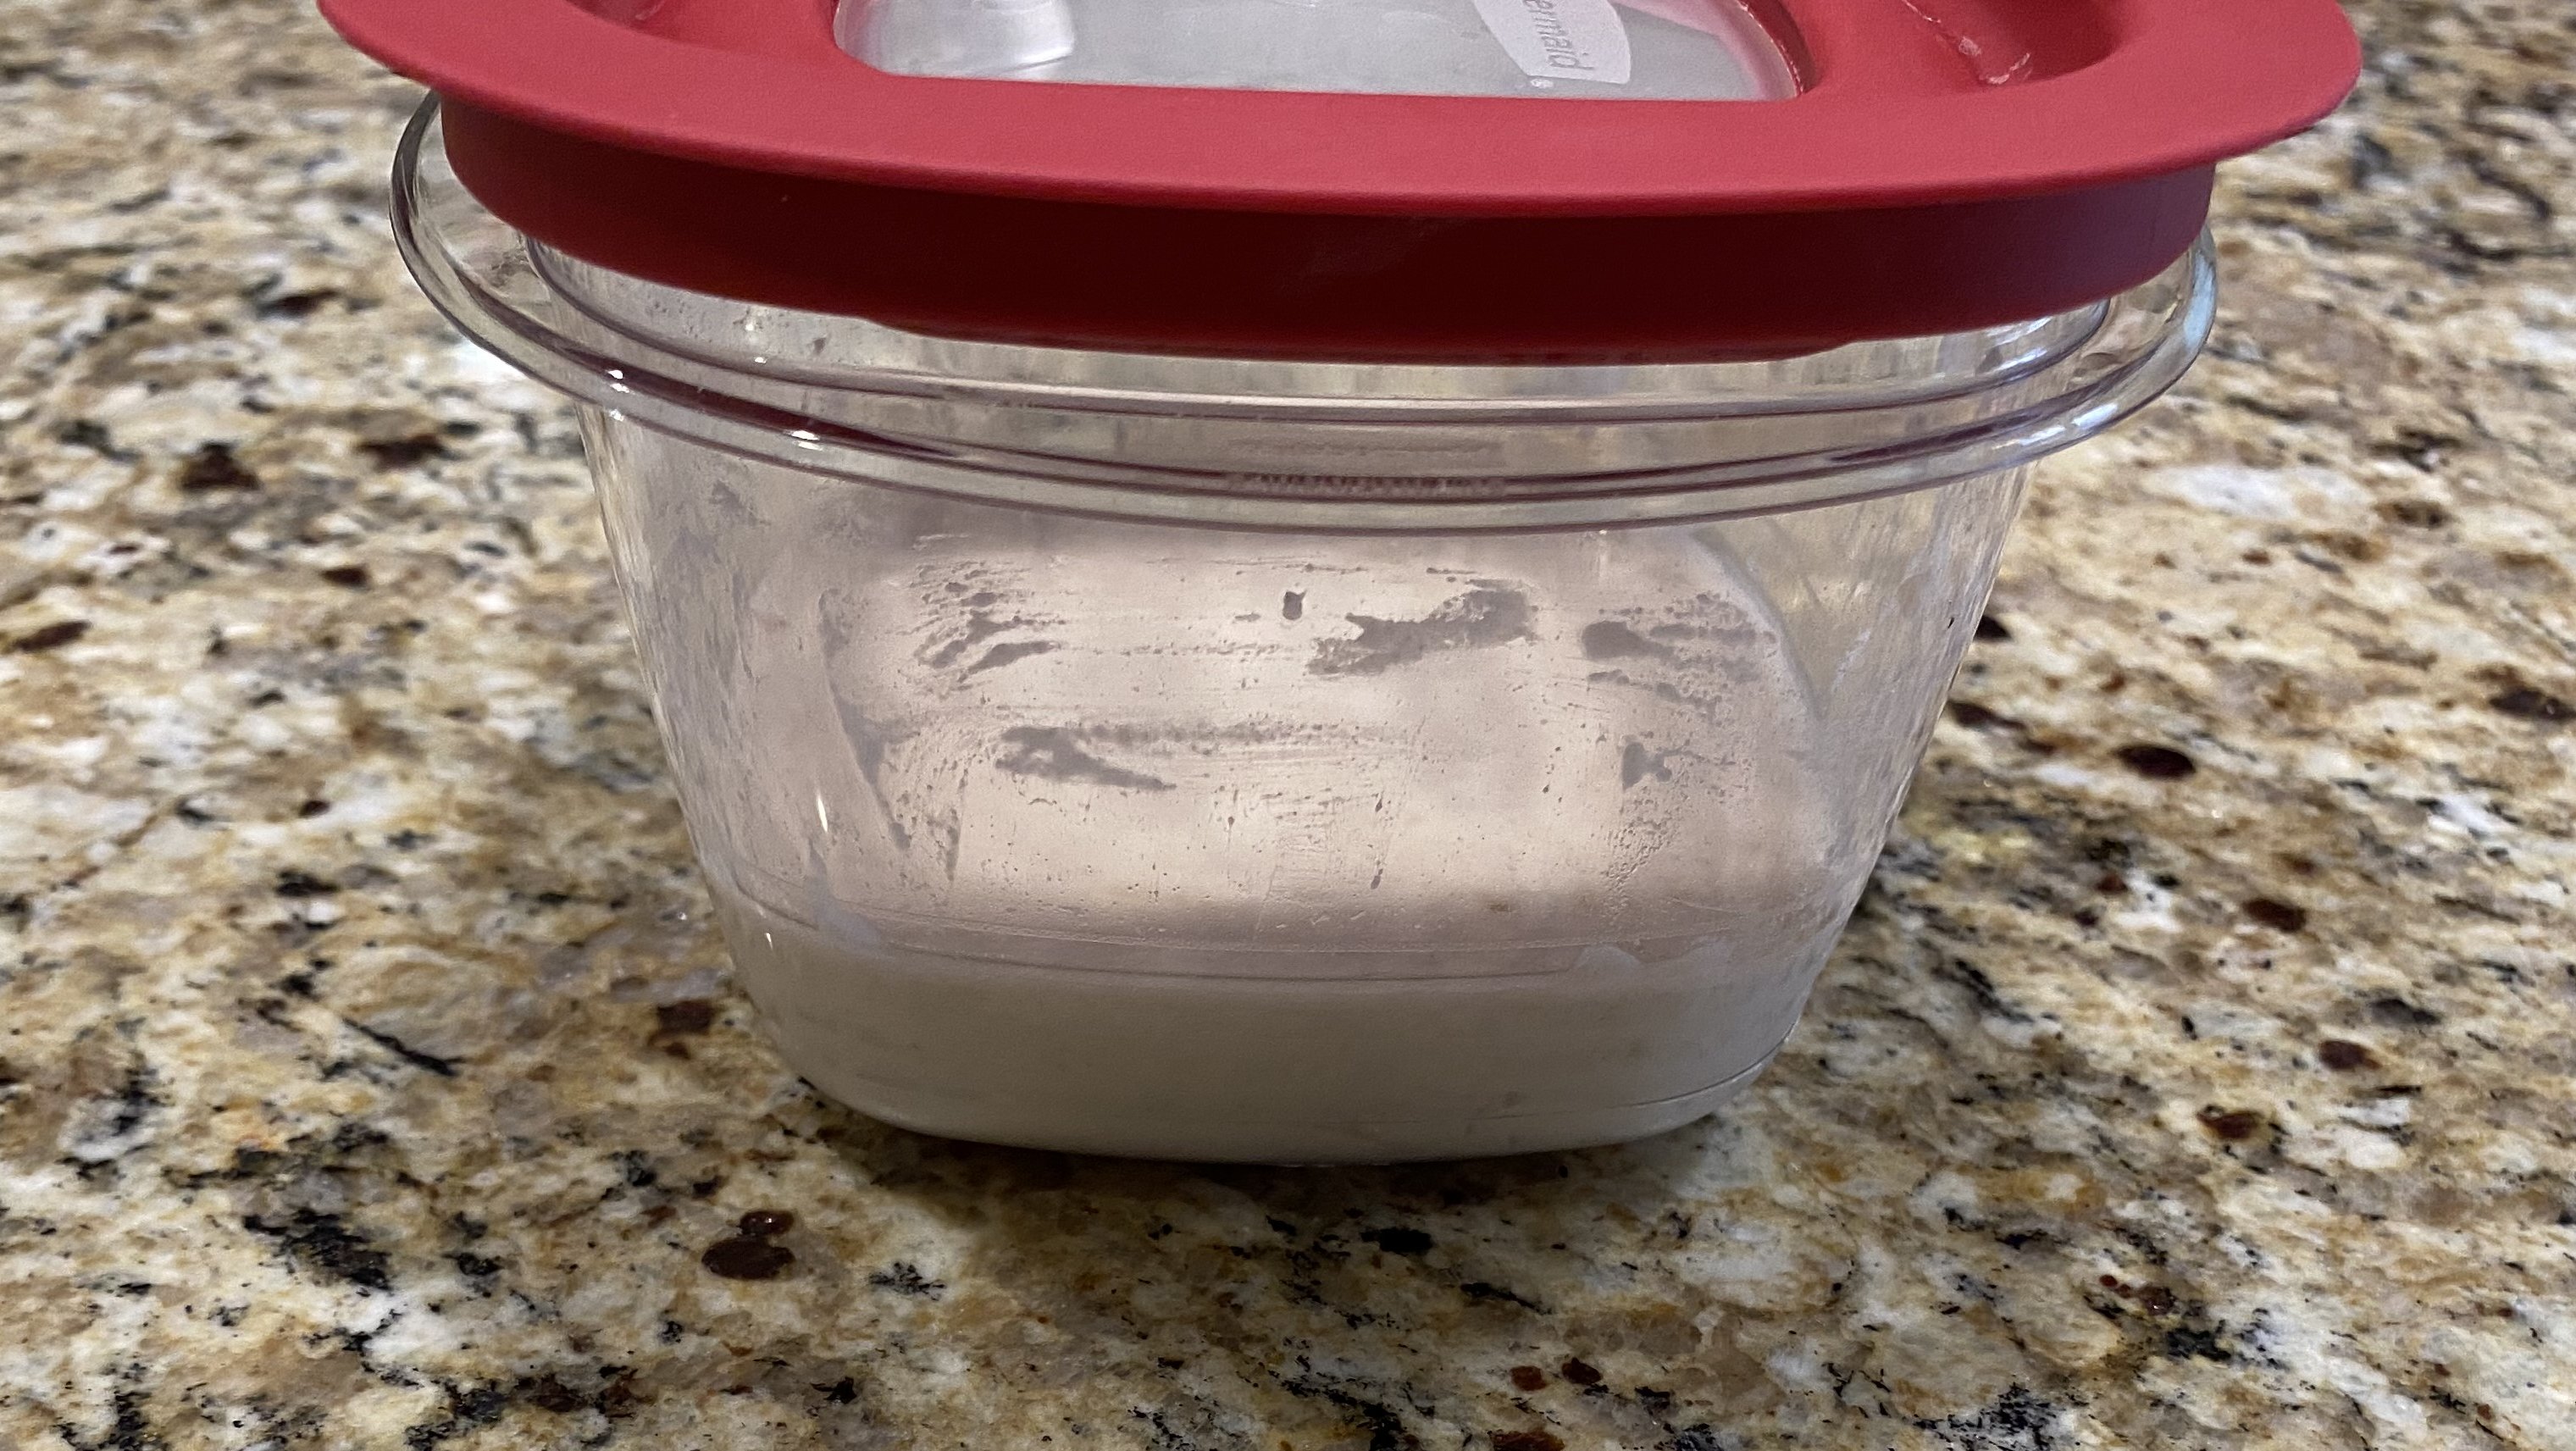
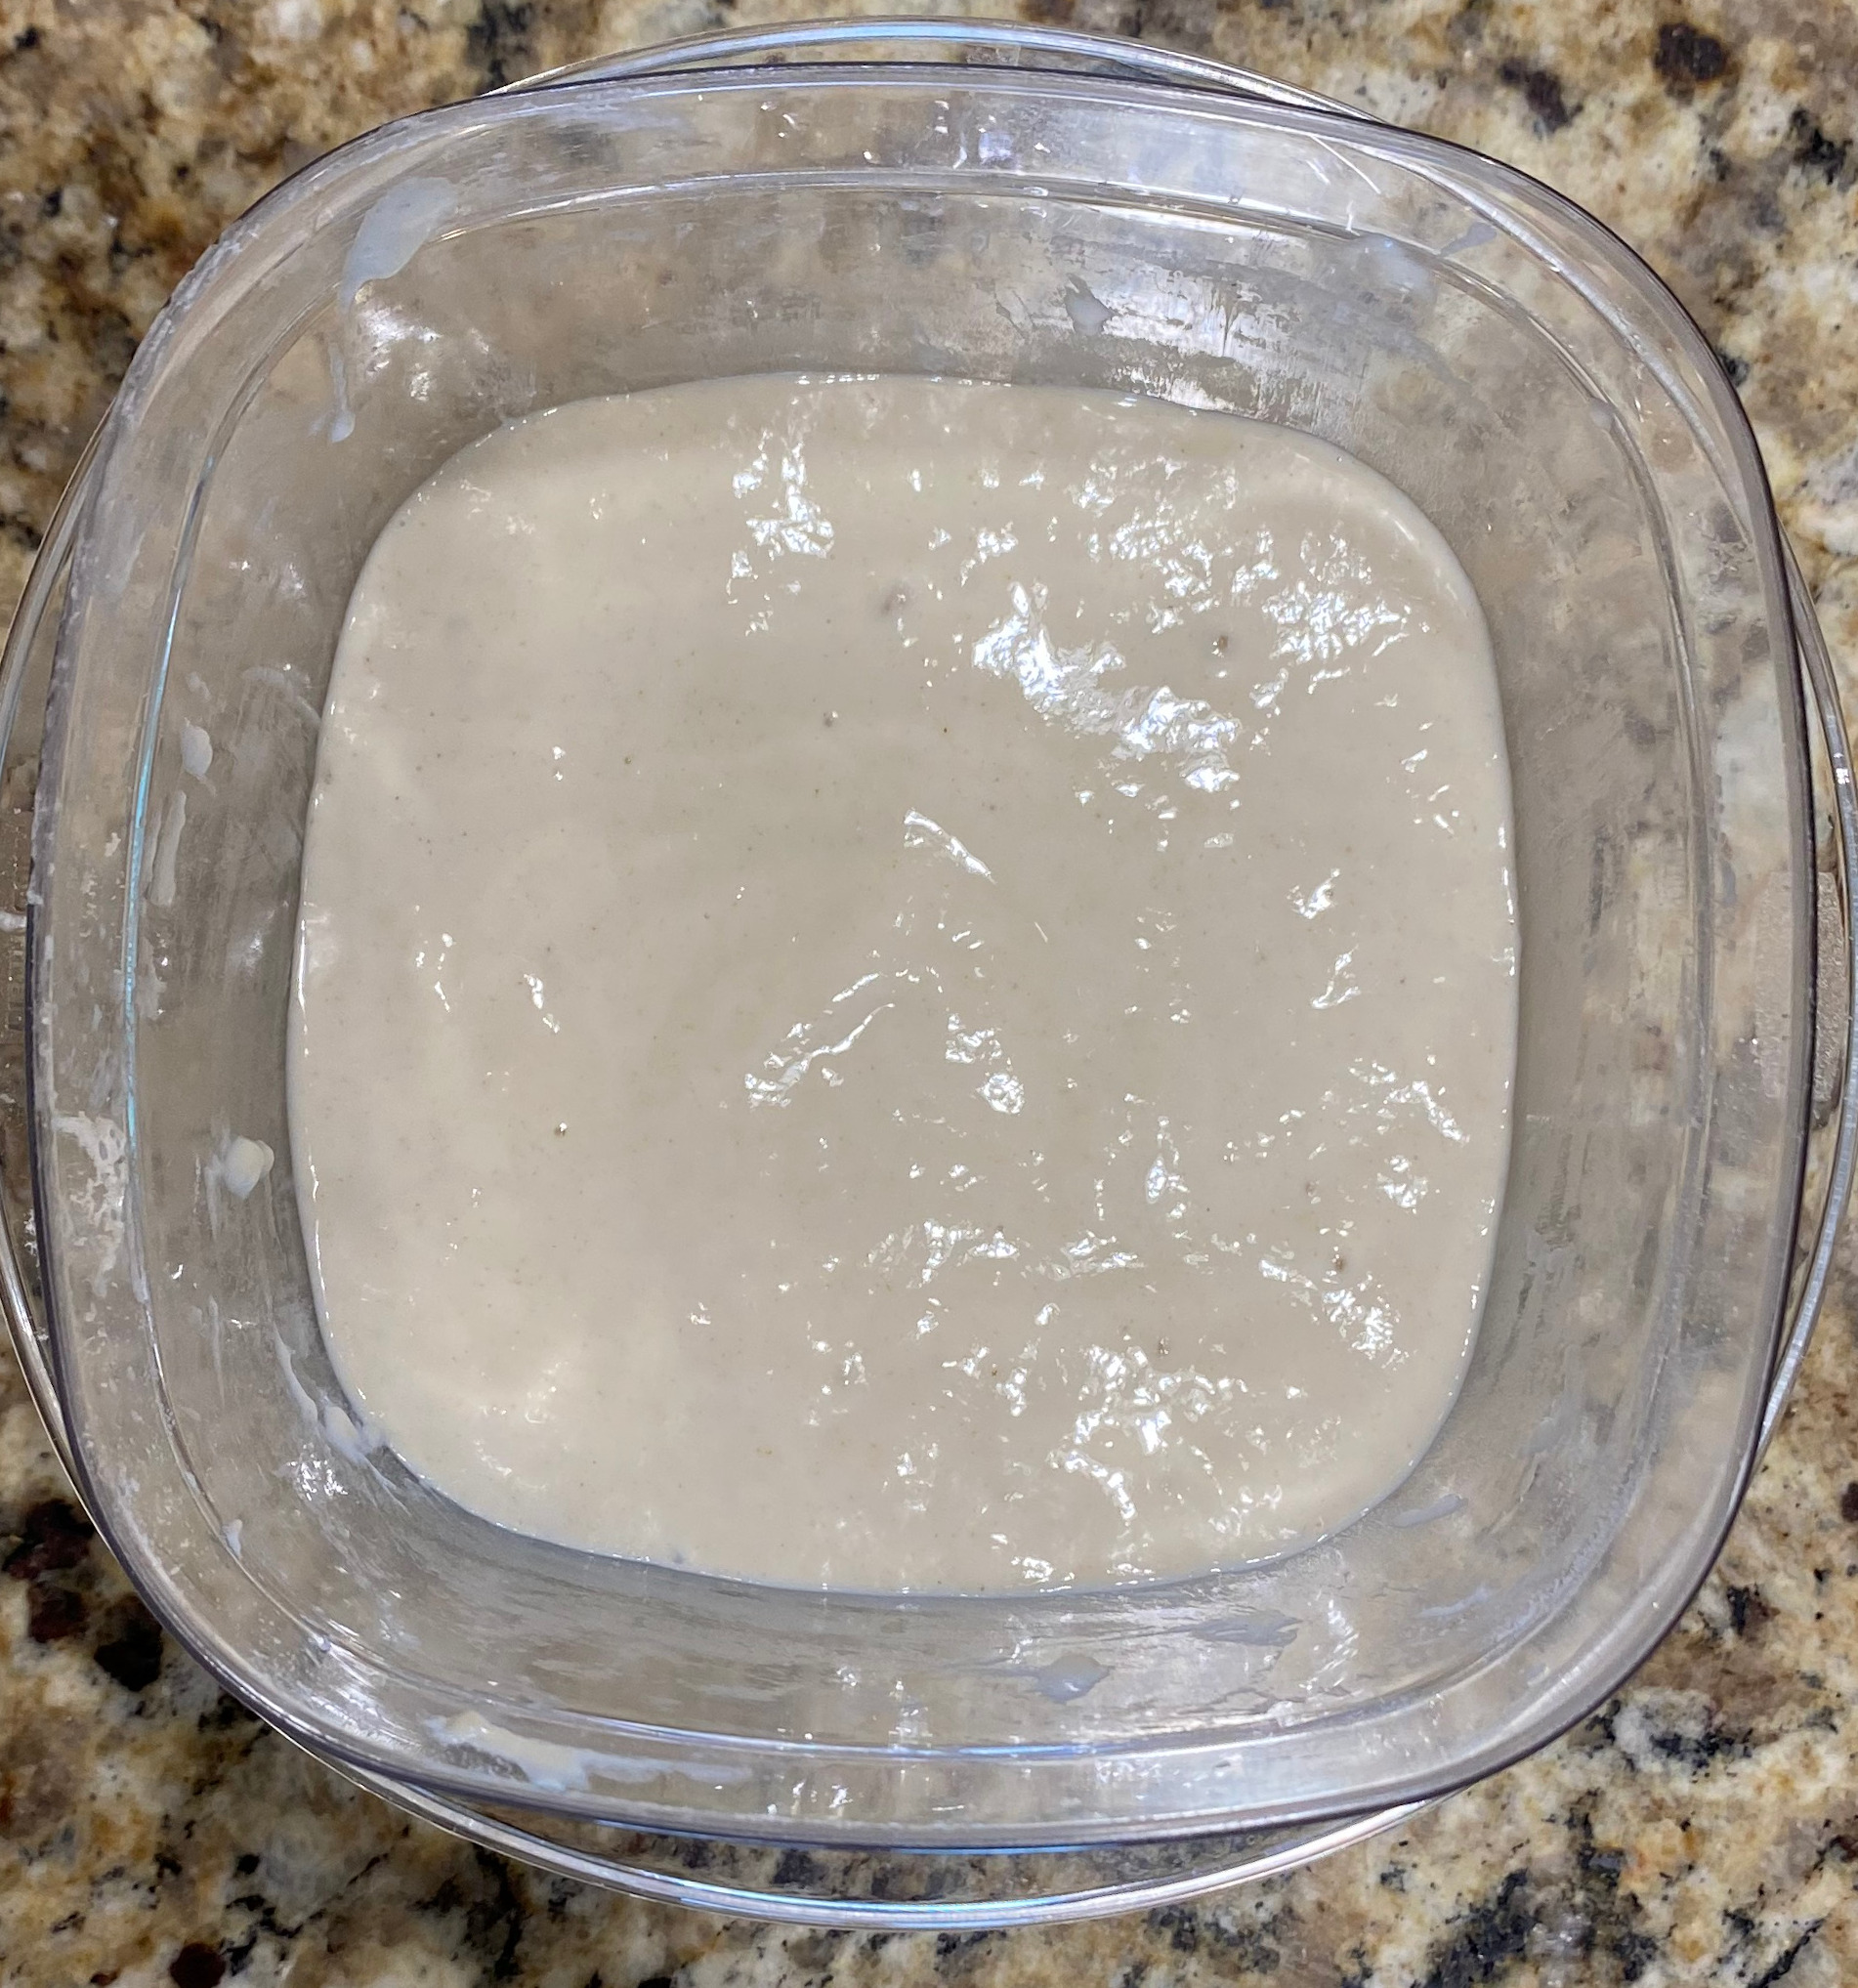
After a couple of hours pour the mixture into a larger vessel. I’m using a 2 cup/473 mL Tupperware container which can also double as my permanent storage vessel. To this add 50 grams of all purpose flour. Mix it all together well until it’s fully incorporated and making sure the sides are scraped down. It looks like this after:


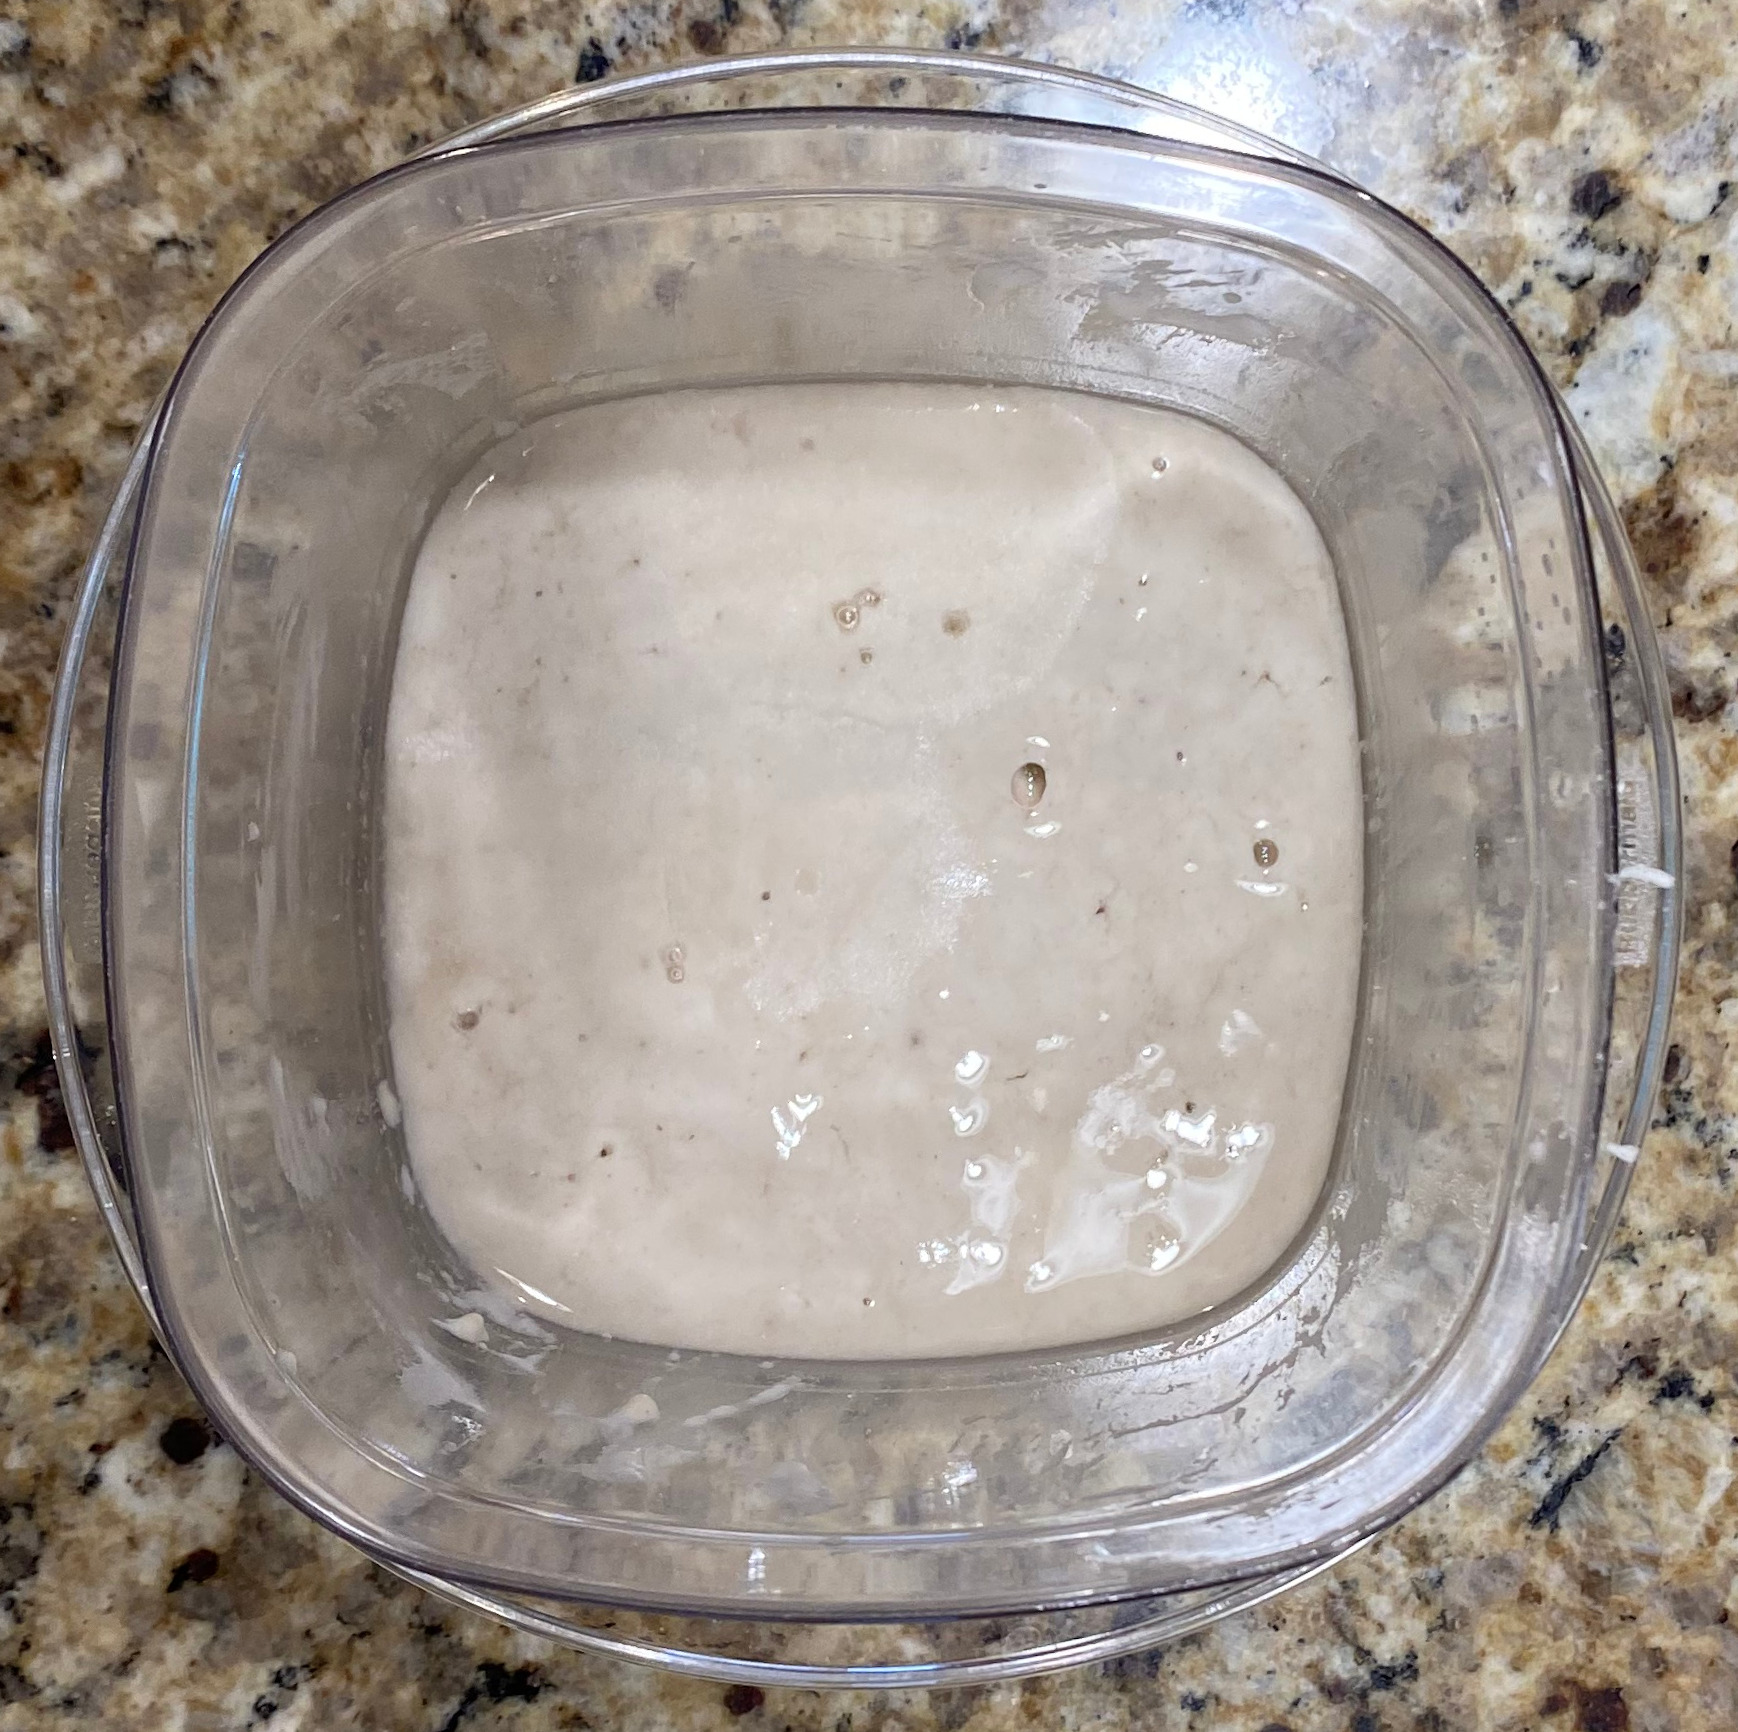
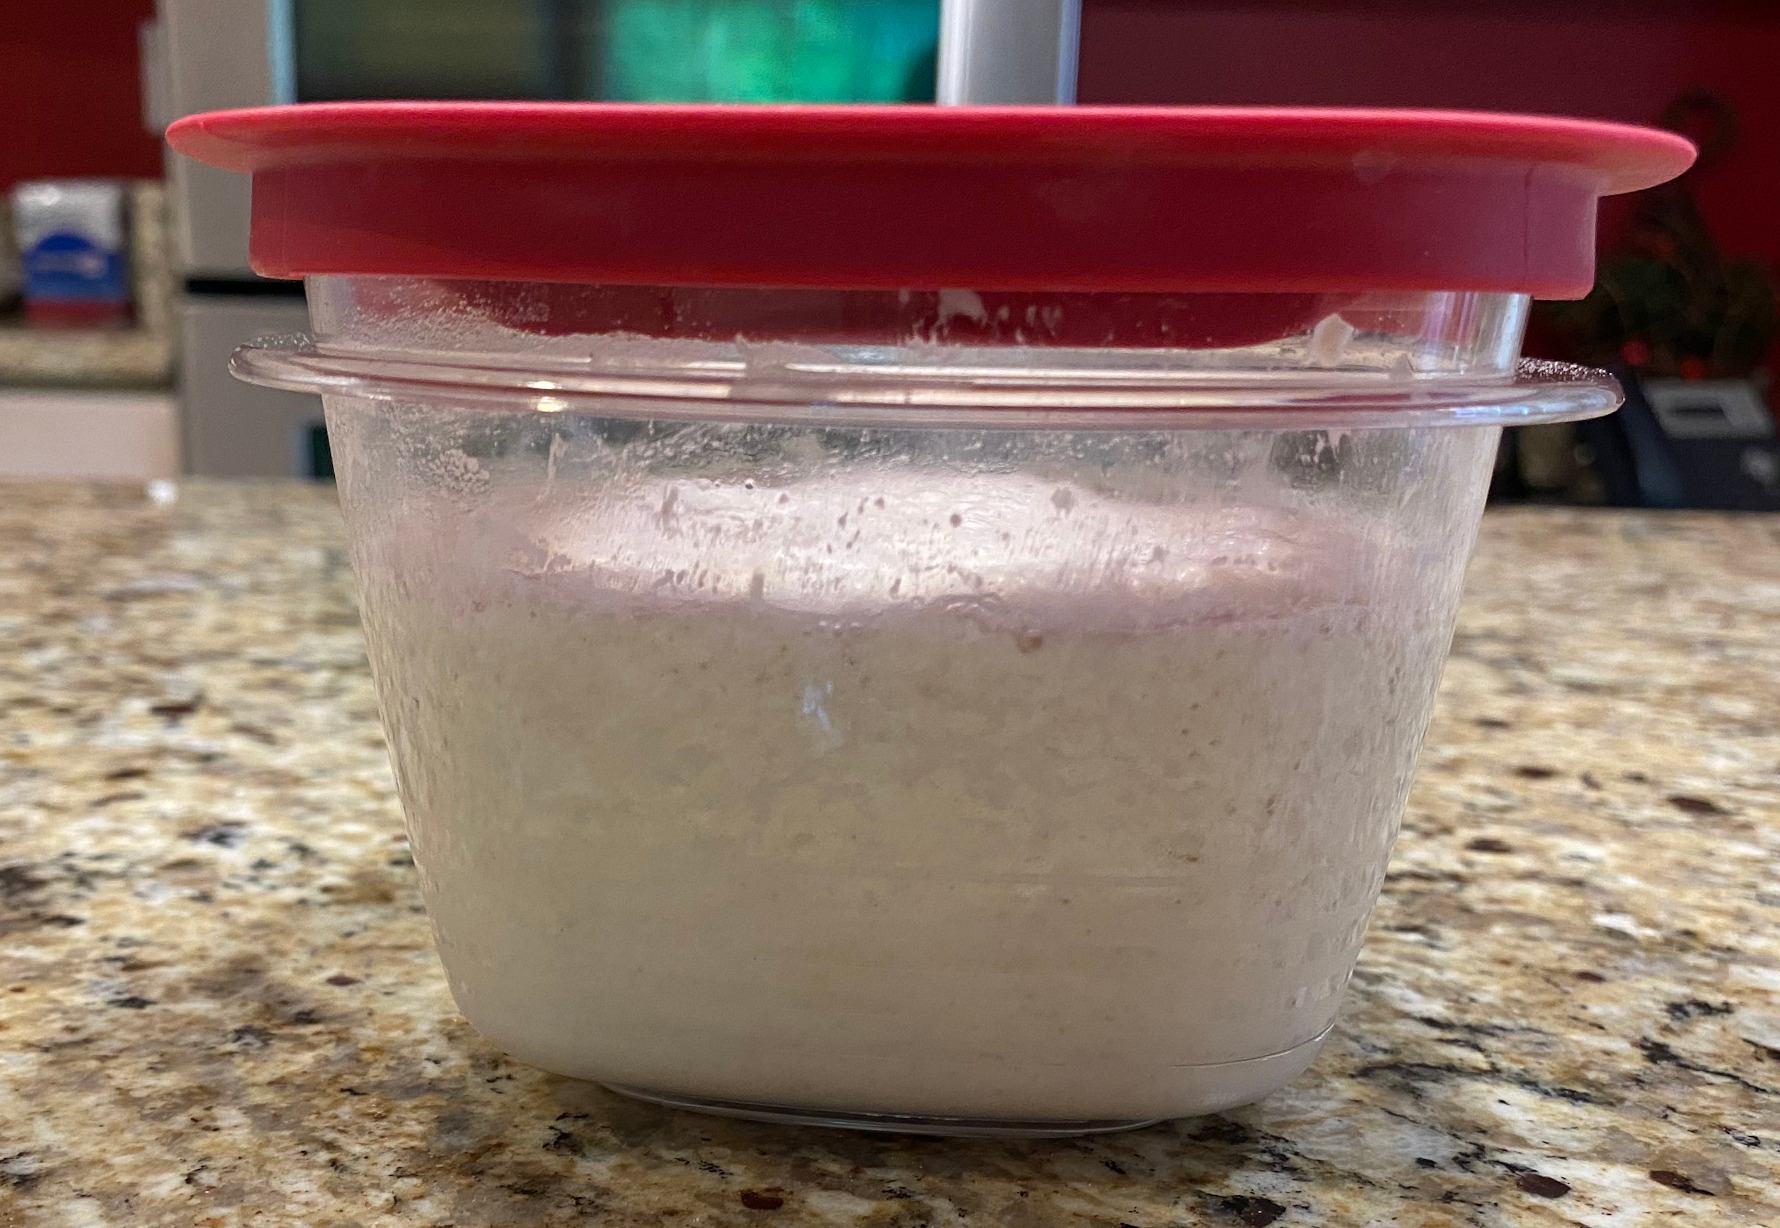
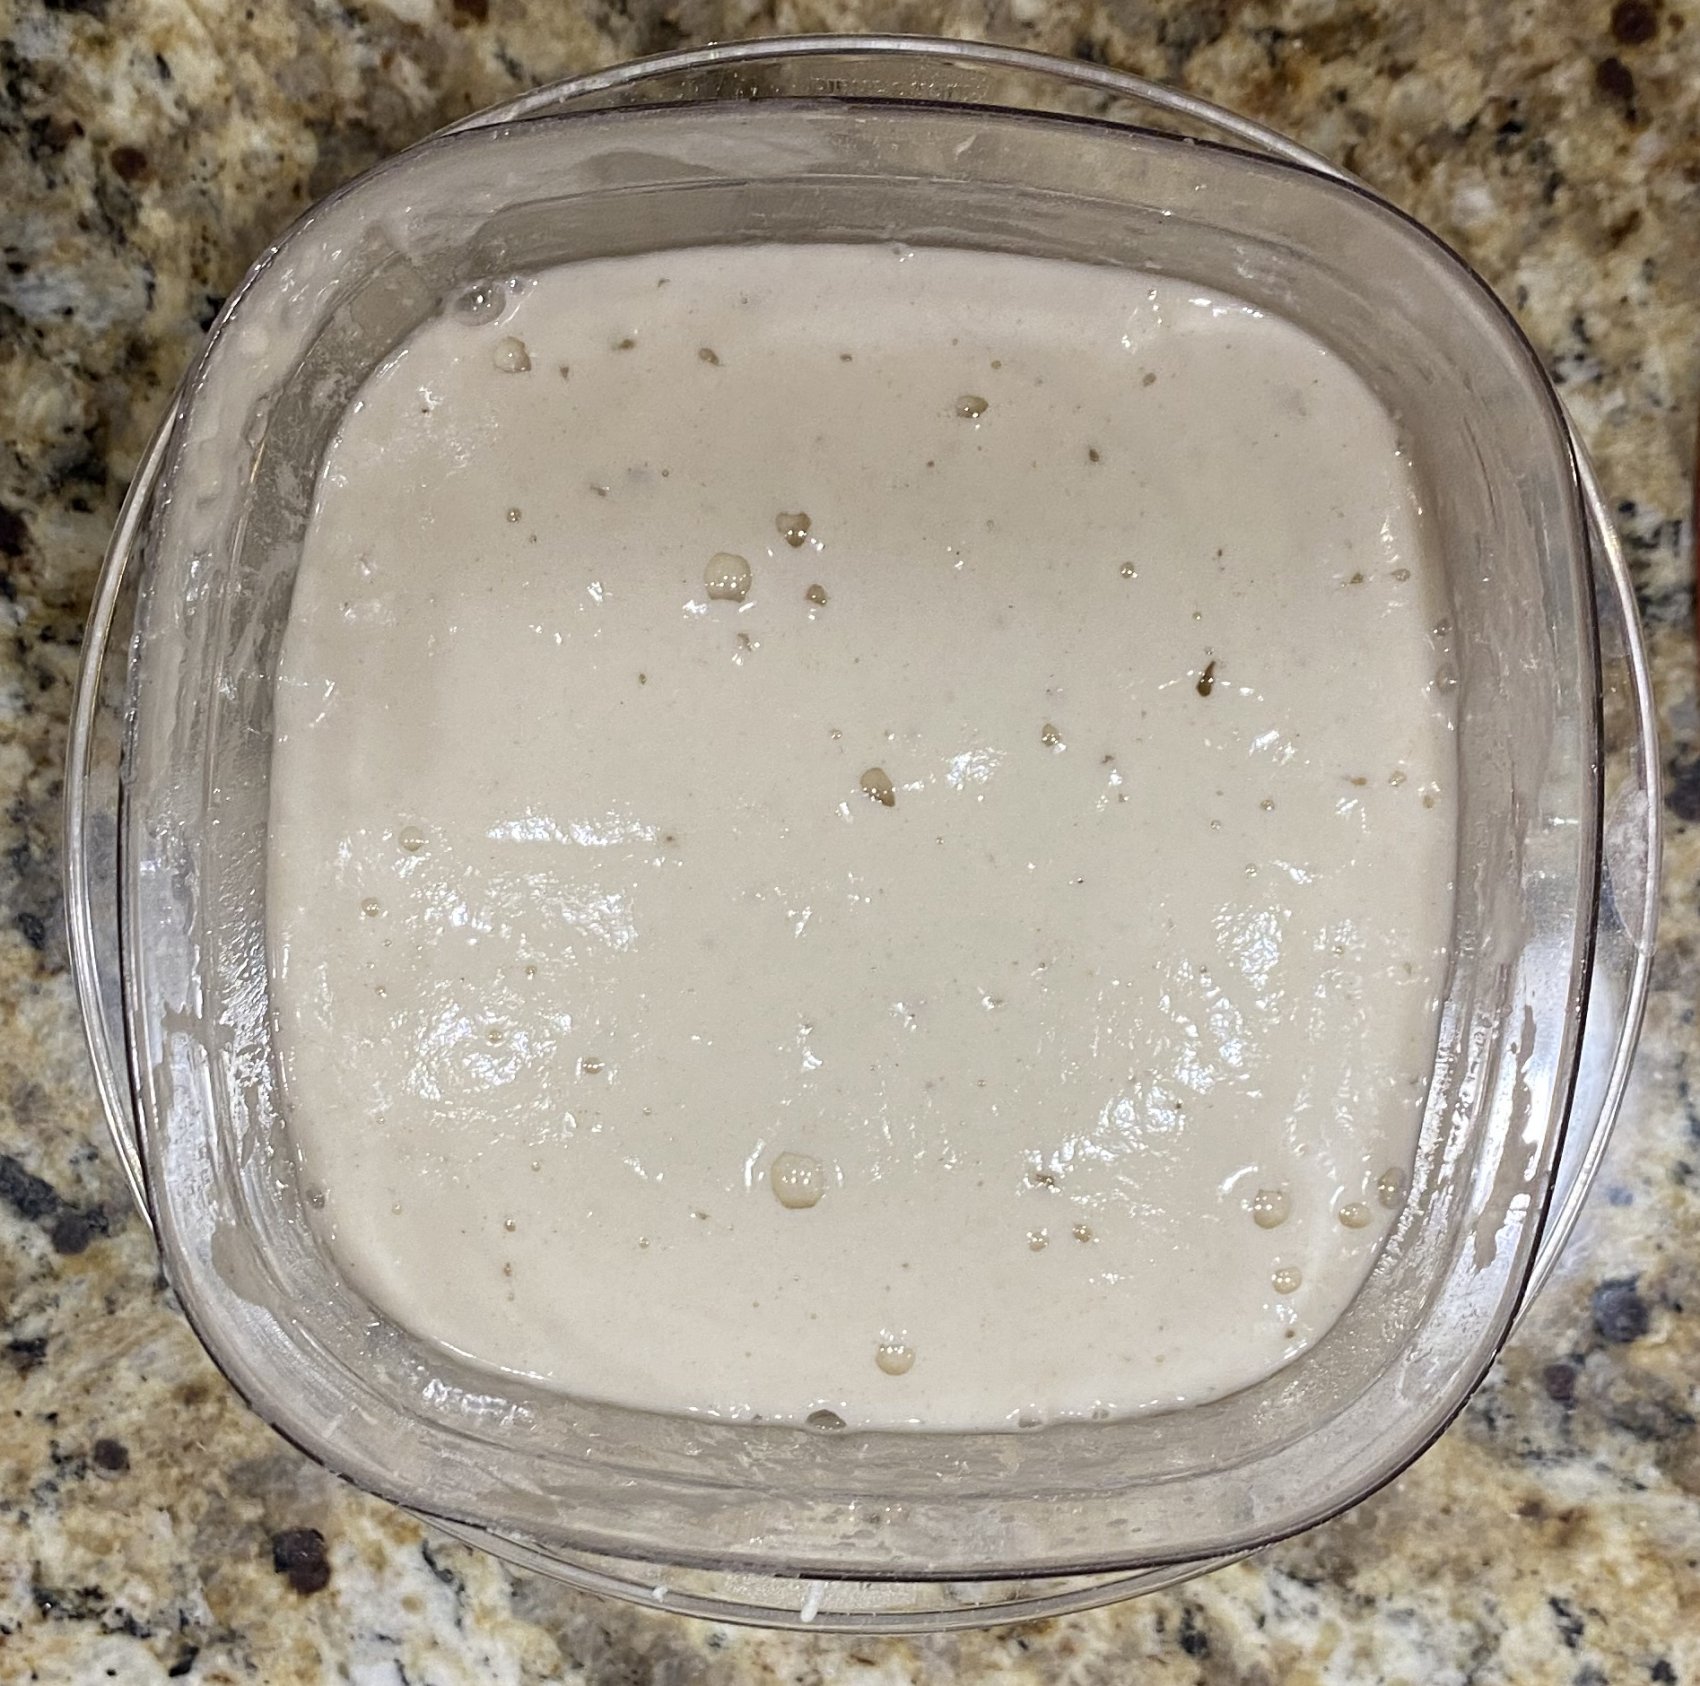
After this we wait to let the microorganisms do their thing before feeding them again. We do this by leaving it covered on the counter for between 24 and 48 hours. We basically want them to leave their dormant state and start multiplying. Here is what it looked like after 24 hours:
You can start to see some activity (bubbles on top) but it’s not fully expanding yet but it is taking up more space than before. While I could have probably fed it at this point I let it go for another day.
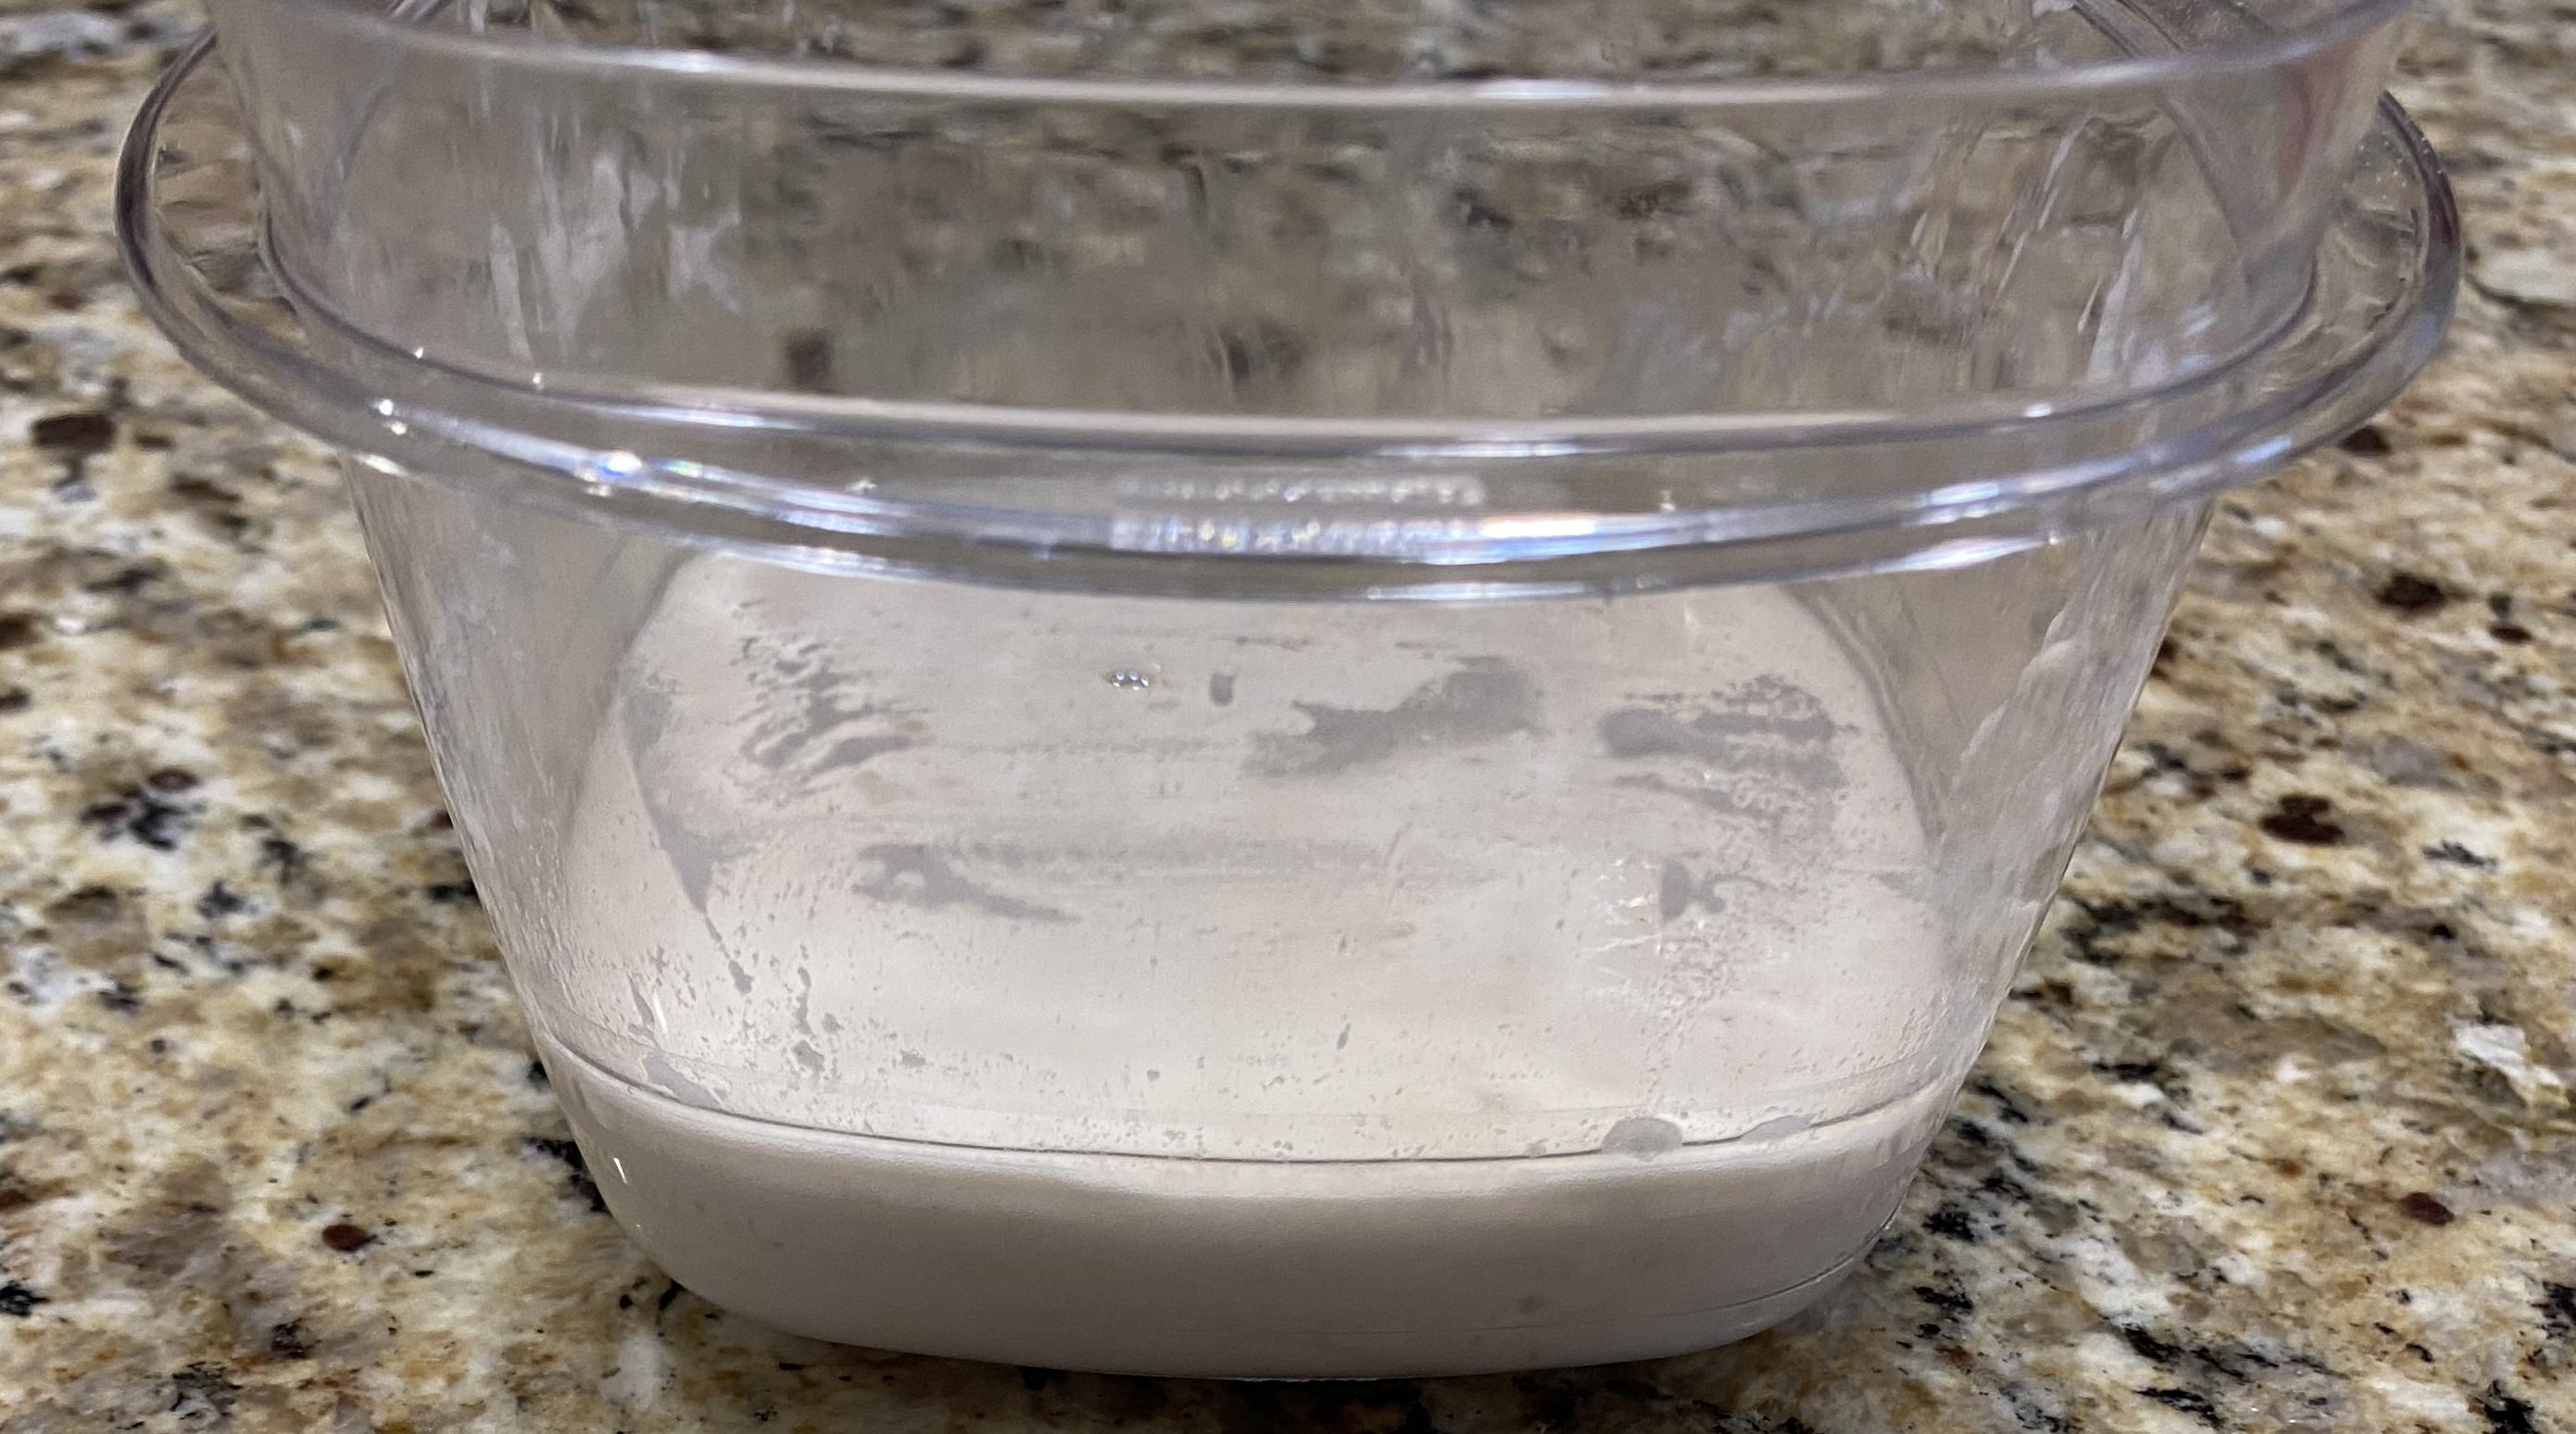
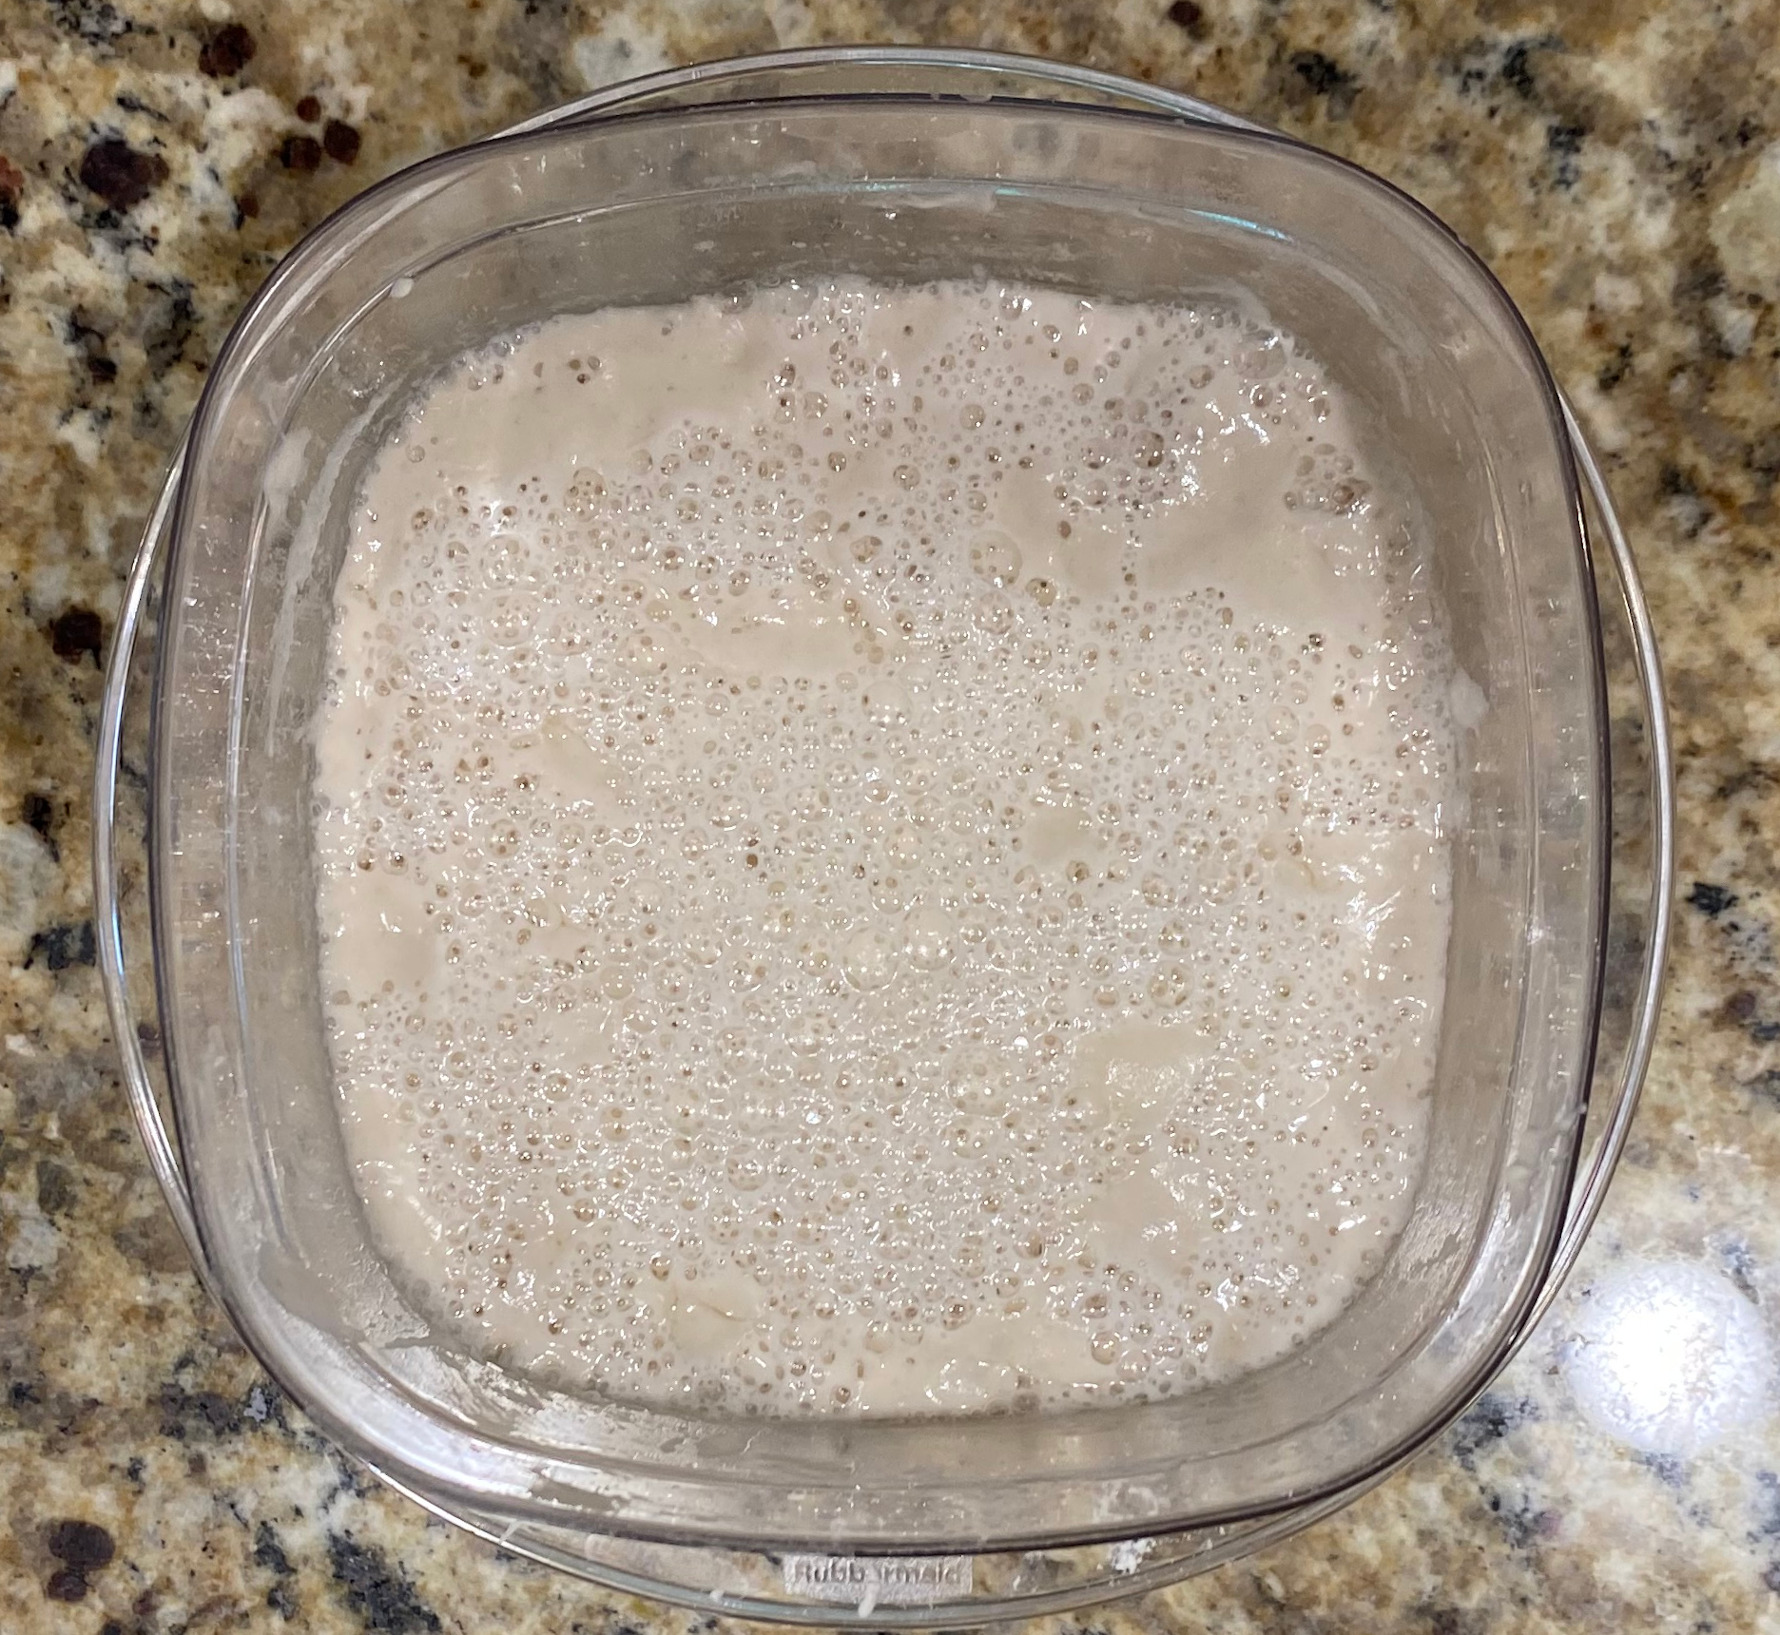
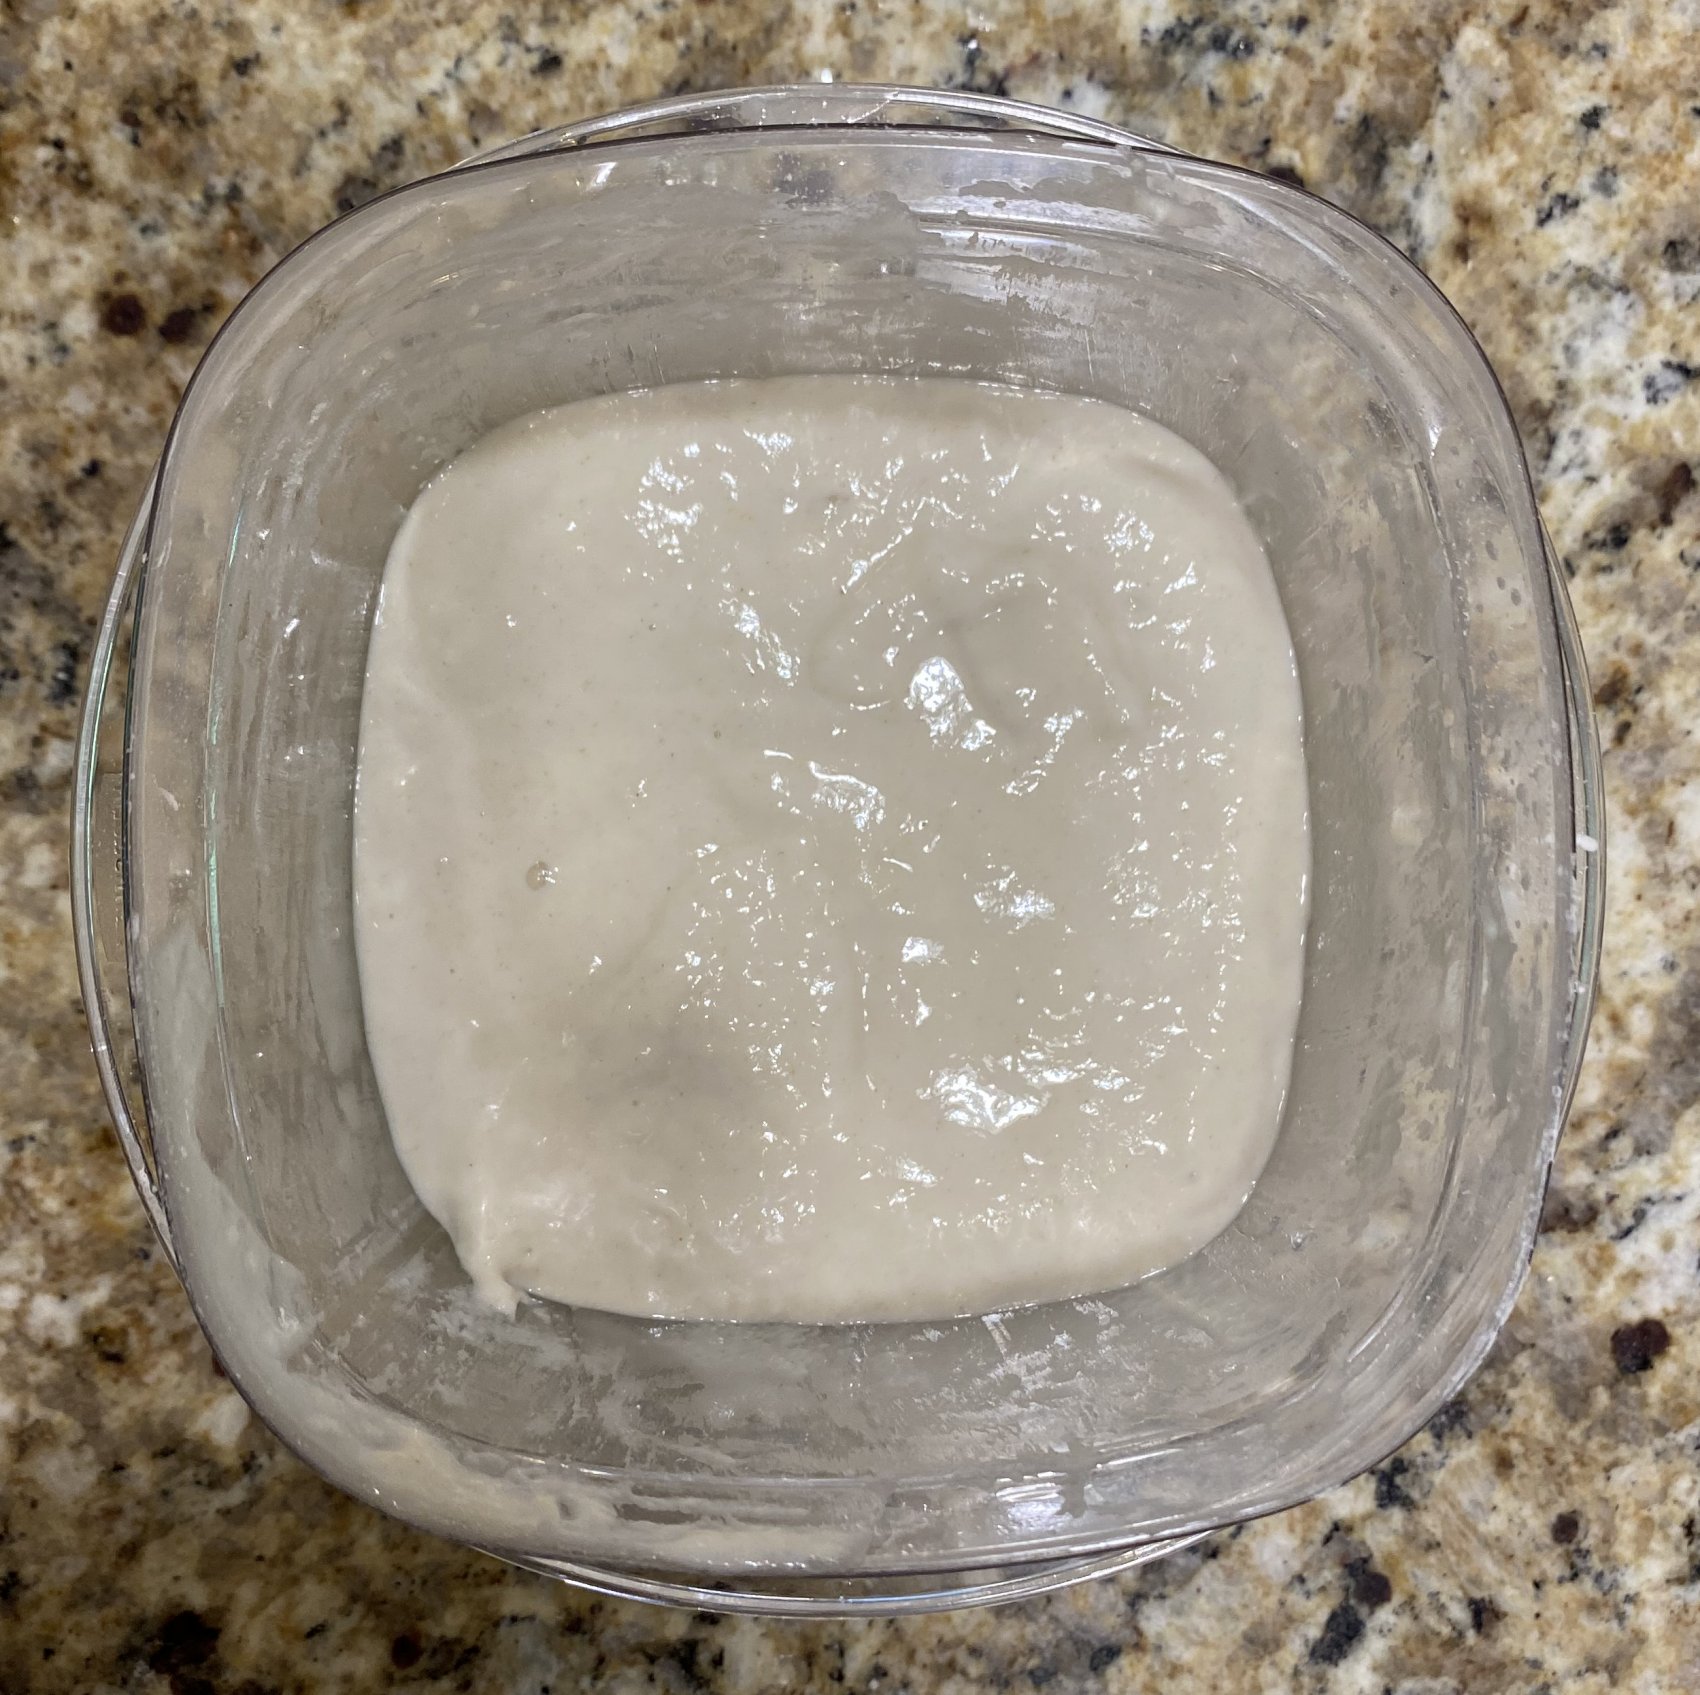
At this point we can see bigger bubbles, the first signs of “hooch” on the top, and about the same amount of expansion. “Hooch” is an alcohol byproduct of the microorganism’s metabolism. You can just stir it back in since it contributes to some of the sourness of sourdough in some recipes. At this point we are ready to feed it again. To do this we measure out and add 50 more grams of water and 50 more grams of all purpose flour. The mixture after this looks like below:

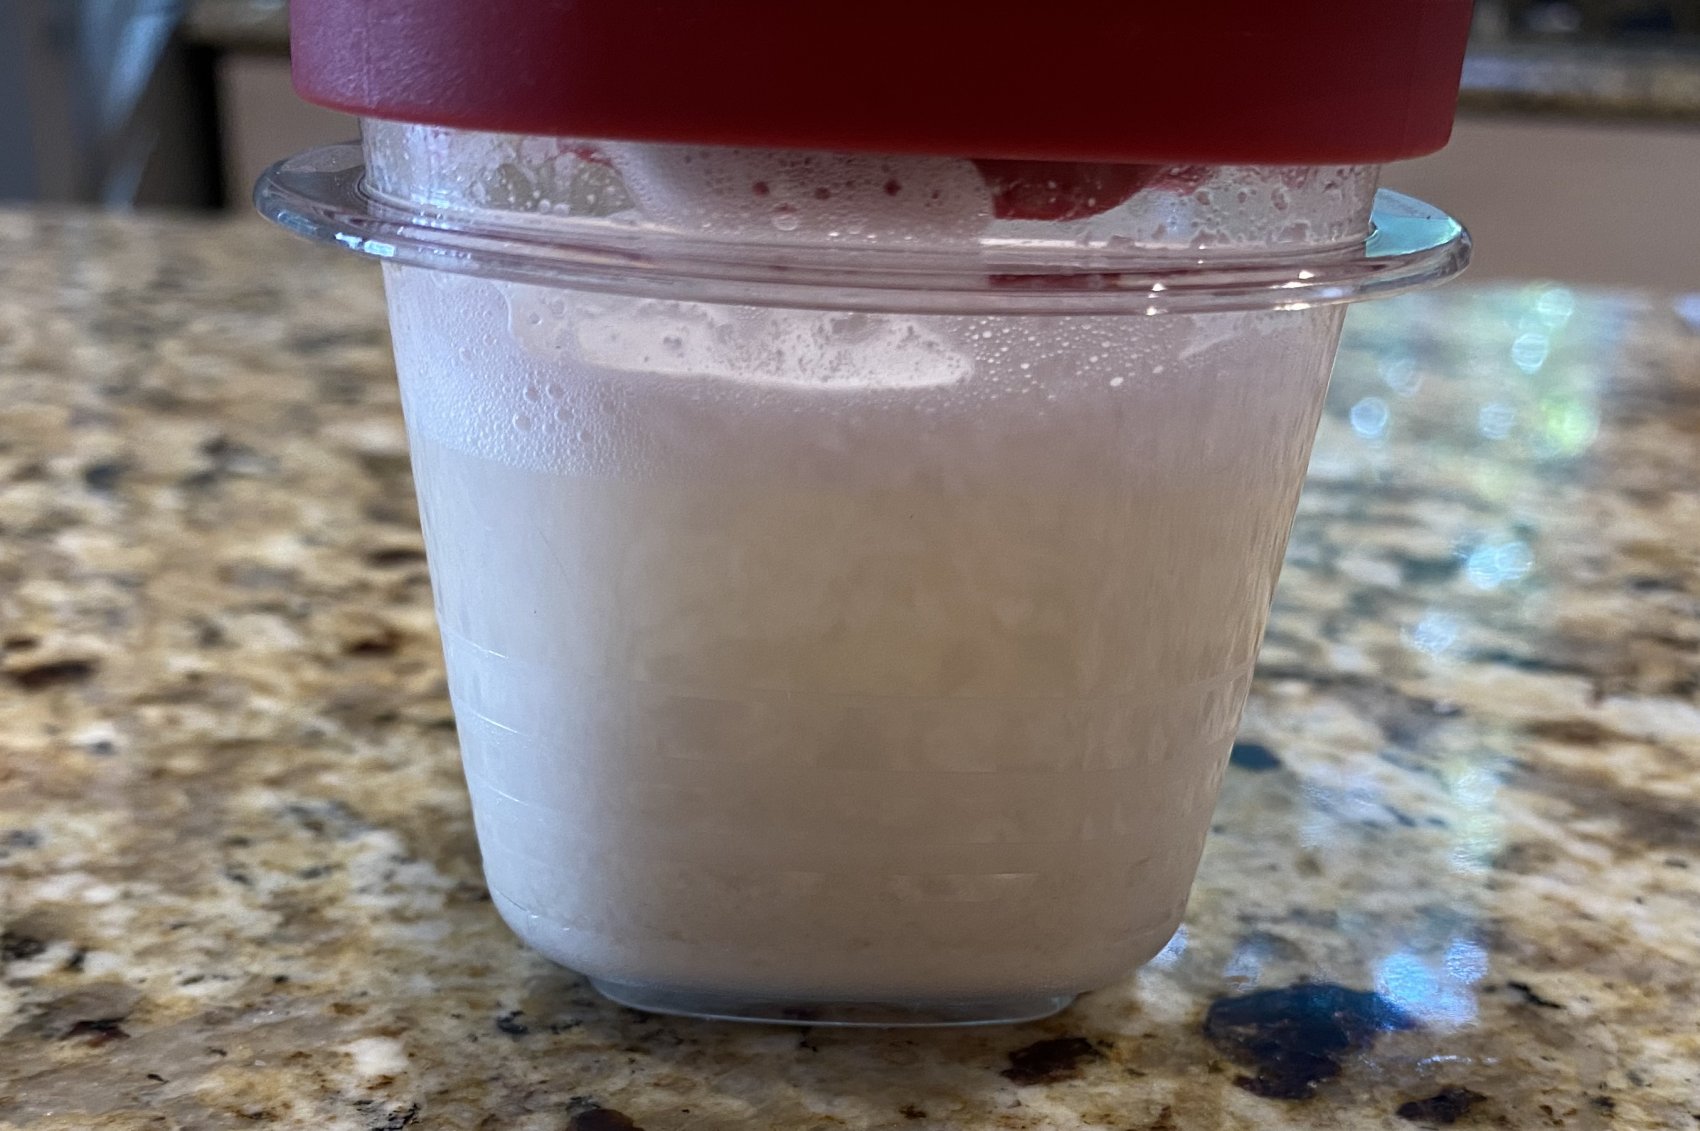
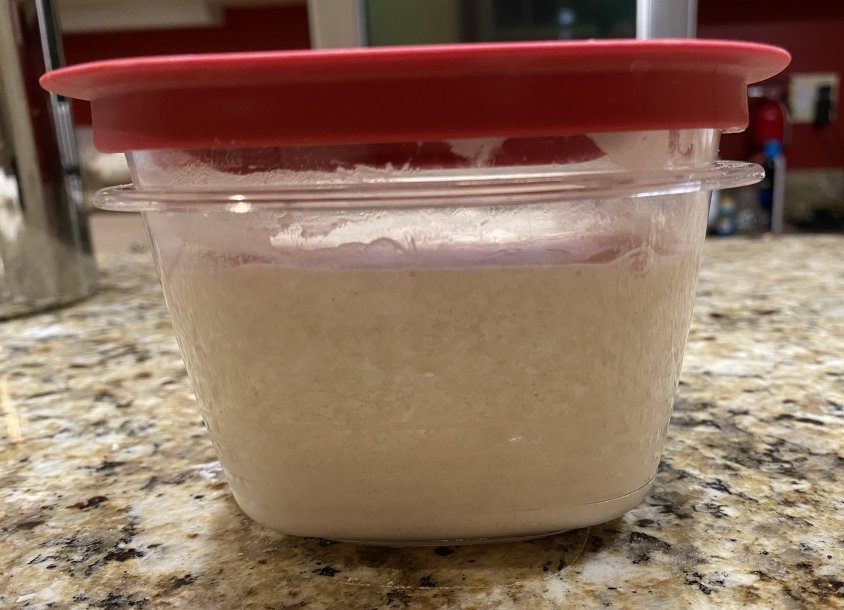
We then let it sit out on the counter for another 12-24 hours. This time we should see a lot more activity than the first feeding. You can do your next feeding as soon as it doubles in size but leaving it past that a bit won’t hurt it either. These pictures were taken a few hours after the 24 hour mark since I was on a trip. It was probably ready hours before though:
At this point we are ready to feed it a third time. At this point we are getting into how one regularly feeds this. We pour off 100 grams of the starter mixture before we add 50 more grams of water and 50 grams of all purpose flour. The mixture right after this feeding looks like the below:
At this point the starter should be fully activated. Proof of this is that it doubled in size within three hours and fully bubbly:
We can now start using the starter and the discard in sourdough recipes. Let’s first look at how one should regularly maintain the starter before getting to the “proof” recipes I did.
Starter Maintenance
Starters are kind of like pets. You need to feed them and keep care of them or they will die. Feeding is very simple, you simply pour half of it out and replace that with new flour and water. The easiest way to do that for this size is 100 grams of starter added to 50 grams of water and 50 grams of all purpose flour. Just like above you mix it all together. If you are storing the starter in the fridge then you’ll want to let it sit out on the counter until you start seeing some activity again (90 minutes to a couple hours usually).
By storing it in the fridge you can space out your feedings to 1-2 weeks. Some people have even successfully gone 2-3 months between feedings and it stays alive although I’ve never gone longer than four weeks. If you opt to store it on the counter then it should be fed once to twice a day. I’ve always done twice a day when I’ve done this. Going much longer that that can quickly kill the starter.
It’s possible to drastically increase the amount of starter you have if you need to by simply maintaining the weight ratios at feeding time. Just like with the starter reactivation where we turned 15 grams of dried starter into 200 grams of it you simply have to wait longer to allow the culture to multiply more than with the 50% feeding like we do above.
Now that we have starter maintenance down let’s look at some recipes
First Recipe: Tartine Country Loaf
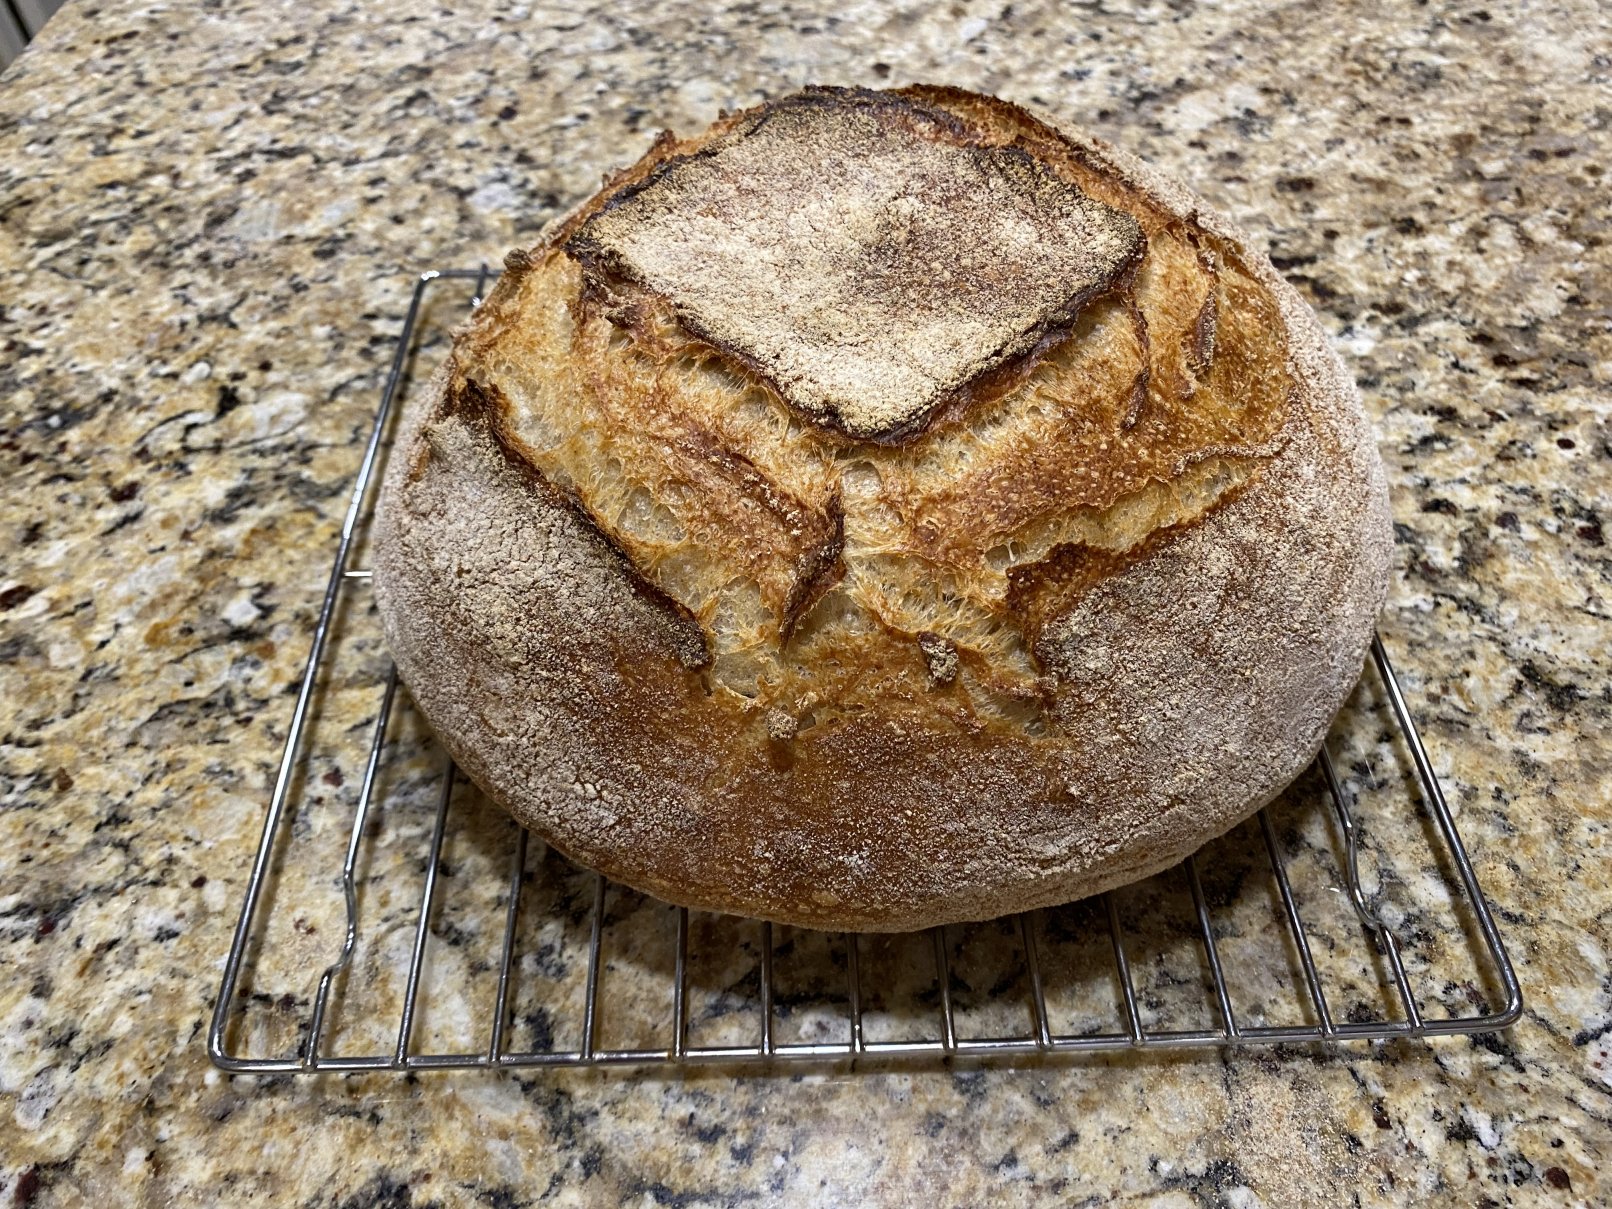
We have this starter mostly so we can leaven breads with it. Believe it or not many recipes that use this only use a single tablespoon of the starter to create a leaven out of it. Basically you take a tablespoon of starter, mix in some flour and water and create the mixture that rising the bread. If your recipe uses the same flour and ratios one can just use some fresh fed starter kept for the requisite amount of time. My favorite recipe to use my starter with for bread making is the Tartine Country Loaf . This is a no-knead simple recipe. I can say from personal experience that if you follow the steps precisely you will get a loaf of bread that tastes exactly the same as what one can buy at their bakery in San Francisco. Below is a picture of the loaf I made from the reactivated starter:
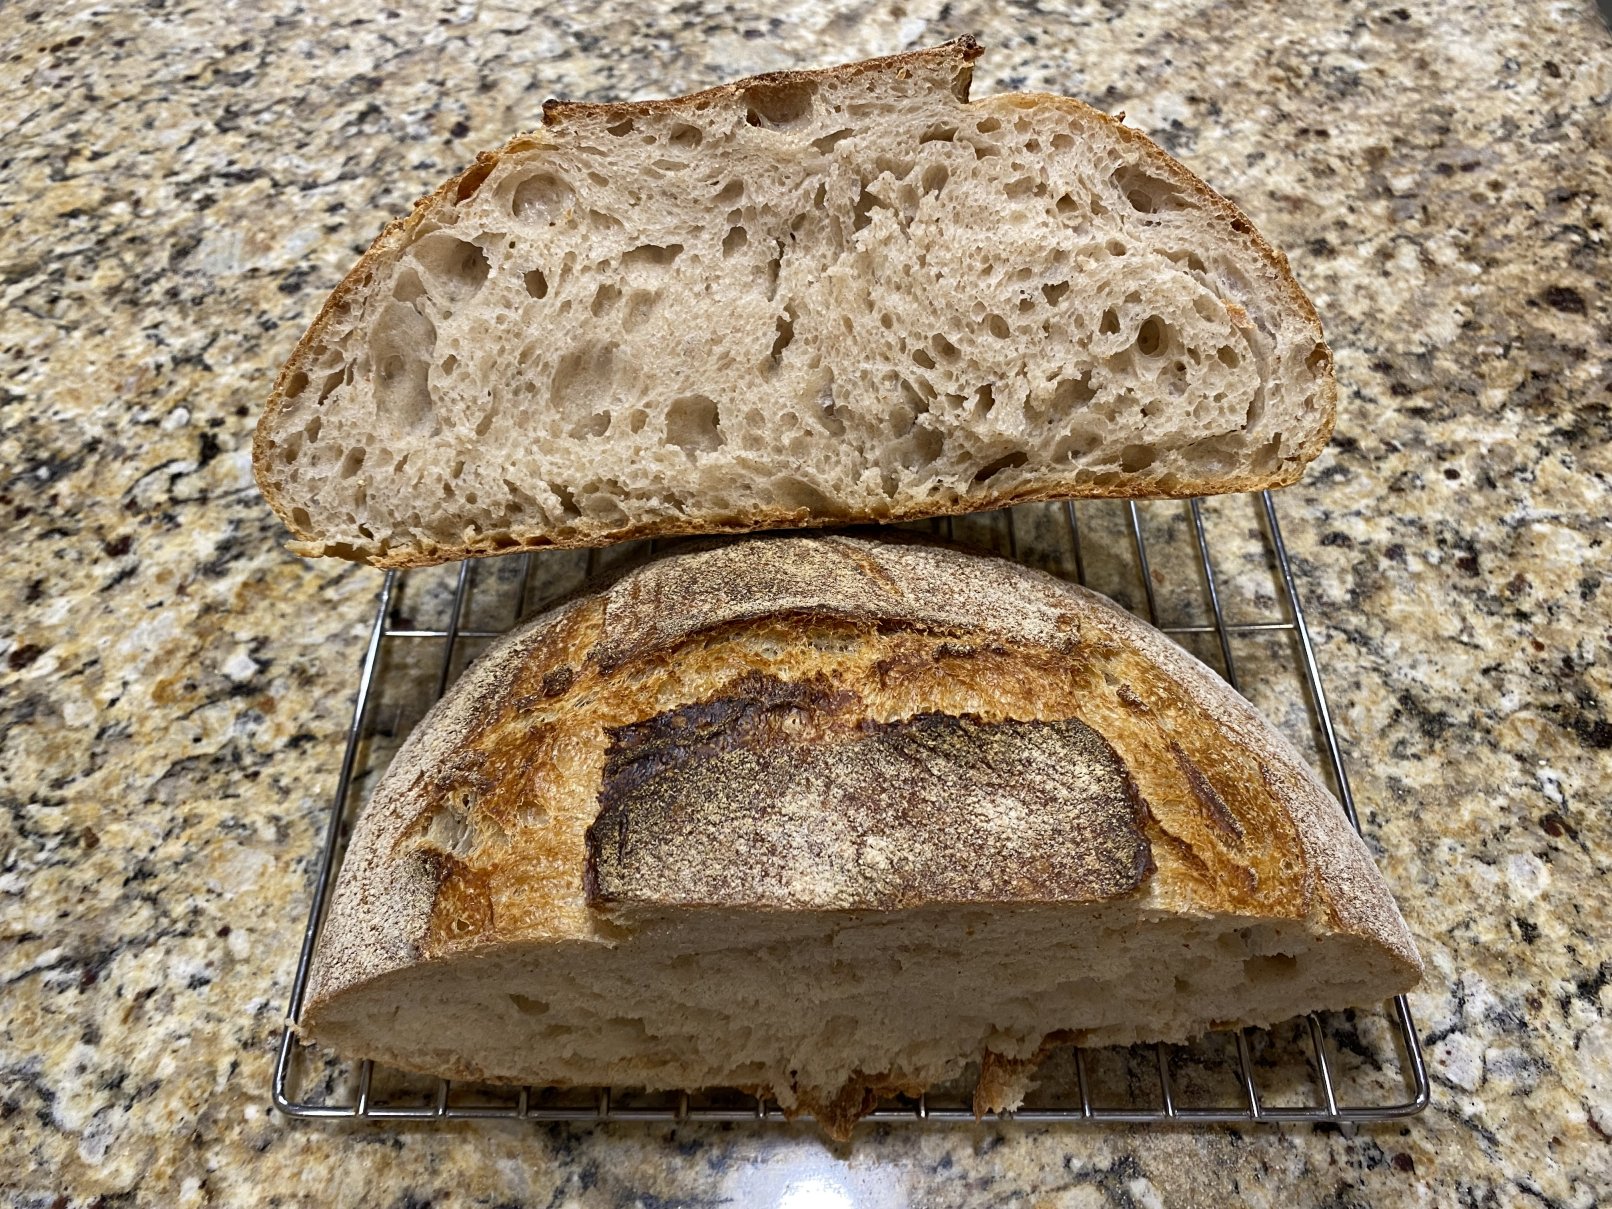
To make this after the third feeding doubled in size I took out a tablespoon and followed the rest of the leaven instructions in the recipe.
Discard Recipes
Since you’ll have 100 grams of starter at the end of each feeding it’s good to have uses for it rather than just pouring it into the trash. The first recipe I’ll highlight is my Sourdough Discard Individual Roll which takes less than five minutes of active time to make. You can’t get simpler than that. However there are some other great recipes that I use frequently.
Another great recipe that I use frequently is this King Arthur Flour Sourdough Pizza Crust recipe. This calls for about twice as much discard as we have here. In that case you can either halve the recipe, store the discard in a separate container so only use it between two feedings, or you can simply add additional flour and water in equal weights to make up the difference in the recipe.
One of my other go to recipes is my Sourdough English Muffin recipe which adds a nice fresh touch to breakfast tables.
My last go-to recipe is my Sourdough Ciabatta recipe. Again this calls for 200 grams of starter so one can either halve the recipe, store up the discard between two feedings, or make up the difference in flour and water with equal proportions.
You can find countless other sourdough recipes on the internet but these are my favorite by far at this point.