


 2023-04-04
in
2023-04-04
in

 19 min read
The core driver of Dart usage today is definitely Flutter . It is what got me into using Dart, which I now obviously love. The thrust of this series is about using Dart for deployments besides the mobile and desktop space which Flutter is designed for. Yet that is the biggest deployment target. It would therefore make sense that I show how to implement Snake in Flutter as well. The code for this project, as well as screenshots, and other details can be found at the dart-snake GitLab project page . This is open sourced under an Apache 2.0 License.
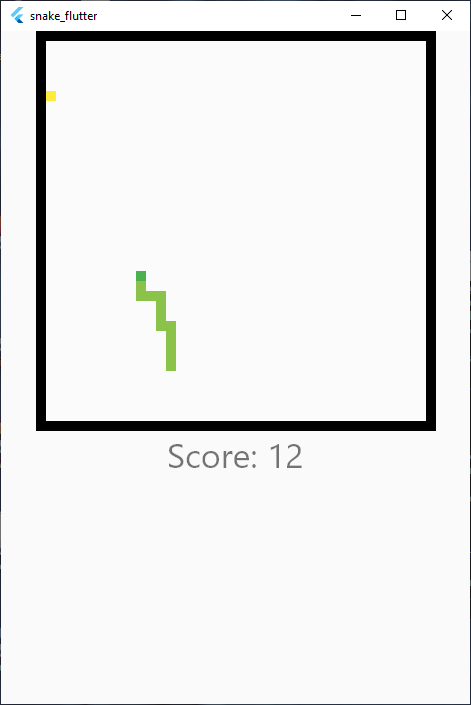
Screenshot of the Flutter on Windows version of the snake game
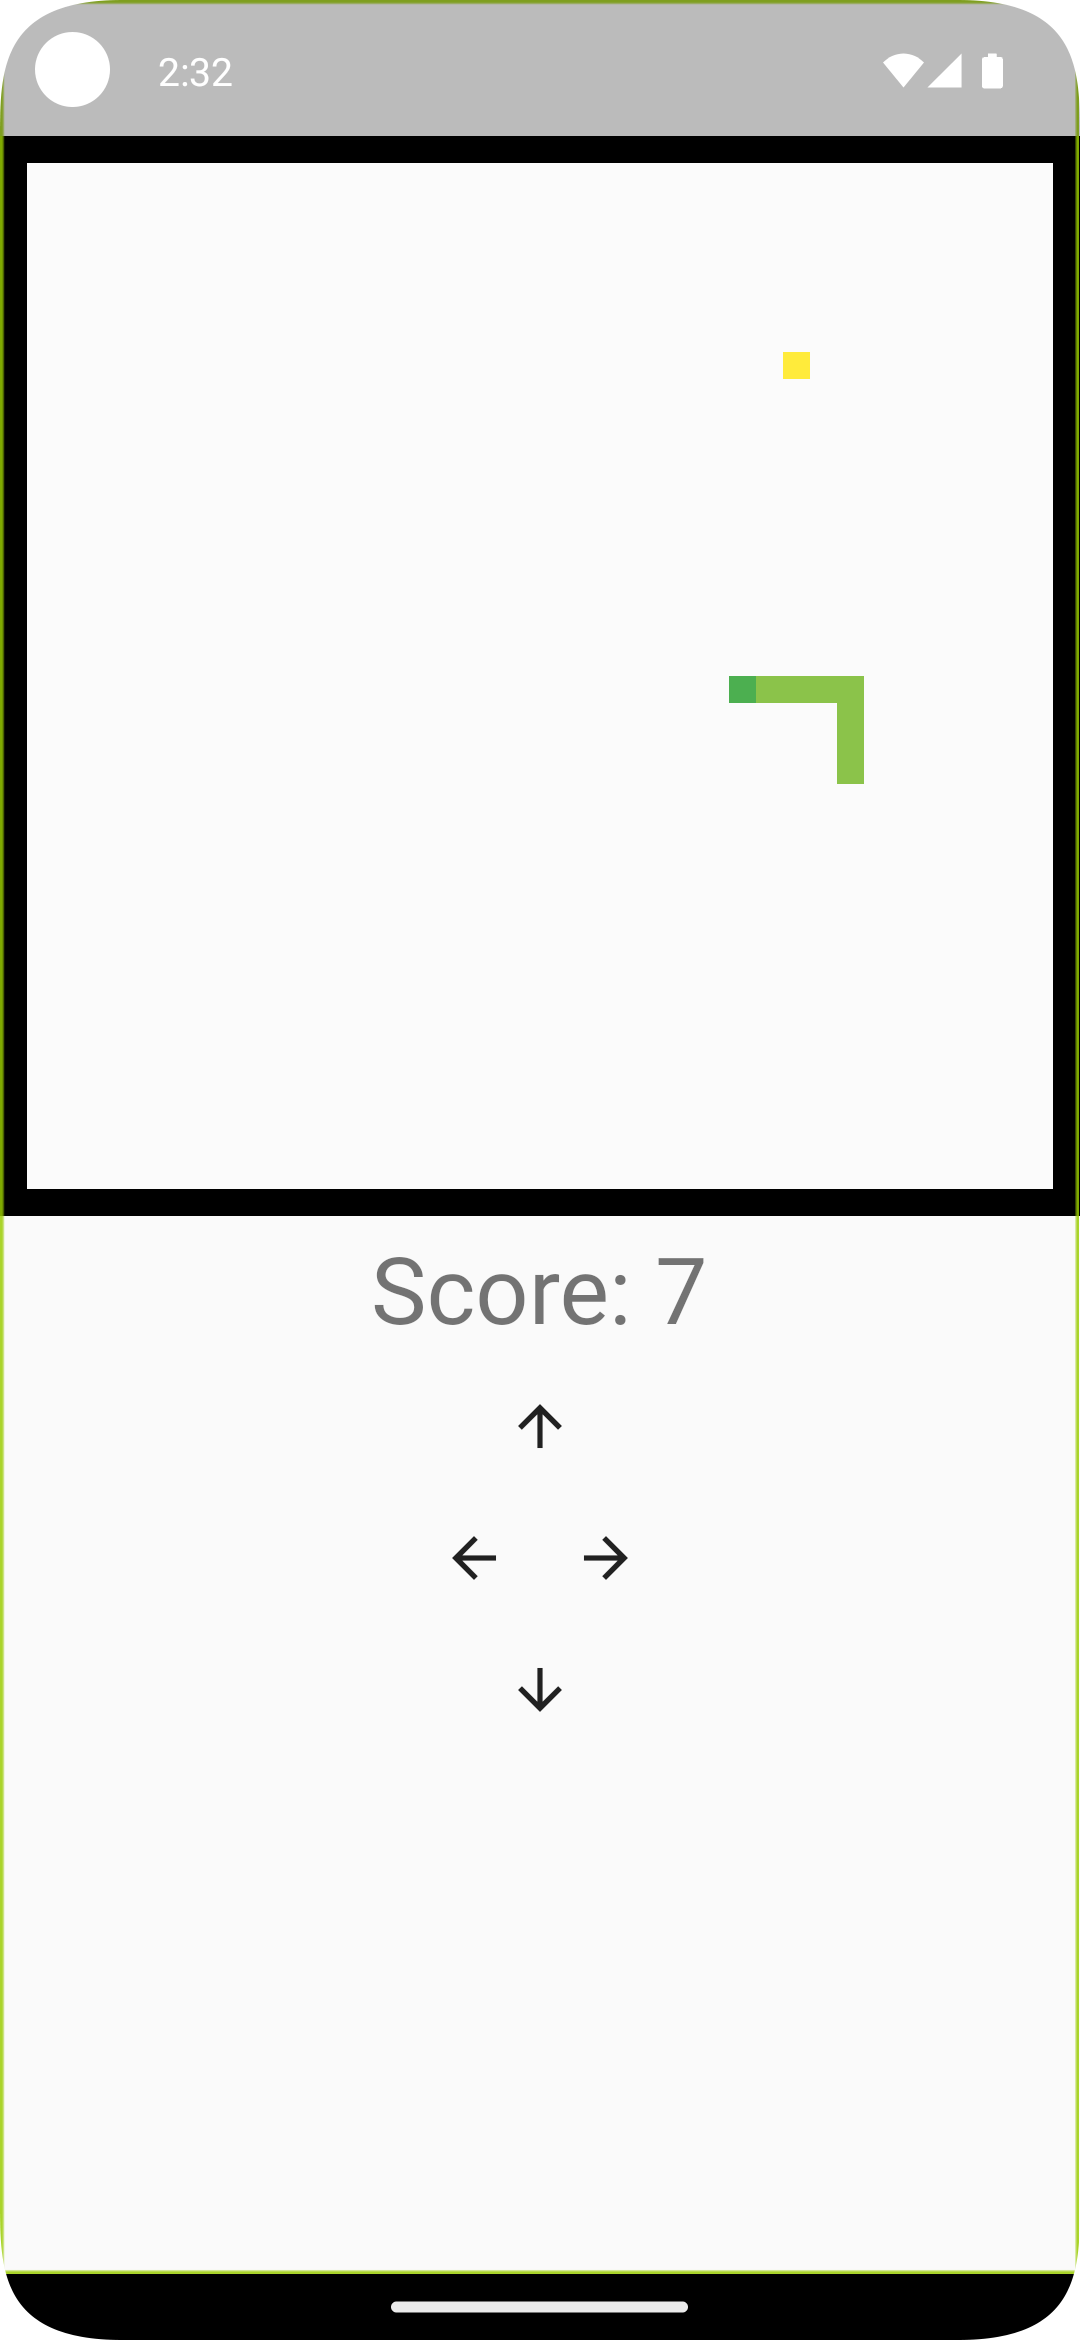
Screenshot of the Flutter on Android version of the snake game
Introduction
In the initial Snake Project Post we laid out the architecture and shared business layer logic. We saw how to use that to build a command line interface (CLI) app in this post . Here we will explore that same thing for Flutter. This won’t be a full tutorial on Flutter. There are some great tutorials on the main Flutter website’s tutorial page . I will try to quickly go over some major standard aspects of a Flutter program along with the relevant features I’m using in this app. If you are unfamiliar with Flutter though you will want to go back to the official tutorials for further details. If you are familiar with Flutter a lot of this is going to be way too much diving into standard Flutter details that you can skim or skip. I’ve tried to break the headings apart to help the browsing process. The same is true for the Riverpod state management system. They have more code snippets etc. rather than hand held tutorials, but their documentation will help you explore that part in more depth.
Presentation Layer Design
.
├── app.dart
├── arrow_controller.dart
├── flutter_tilestate_extensions.dart
├── game_board_widget.dart
├── main.dart
├── main_page.dart
└── riverpod_di.dart
As I wrote in the first post, we have all of the game logic in the snake_lib library. For this “all” we need to do is implement the presentation layer. What does that practically look like? First, we are going to want to display our game board in some way. While there are actual game libraries which probably do a better job I wanted to keep this constrained to core Flutter functionality. For a game as simple as this we can get away with it. The game board is a grid therefore I’m going to use the GridView
widget. We will implement a custom widget to represent the individual tiles.
The GridView is usually meant for things like image galleries or menu button pages. The game boards you keep seeing are 40x40 grids. They therefore have 1600 elements. Using GridView to draw 1600 tiny square elements at a time on screen is a bit of an anti-pattern for this control. If one were trying to make a scrolling view of thousands of elements you would use a GridView but you would use the GridView.builder method to let Flutter create and draw the handful of objects that are on the screen or just off the screen at a time. But again, for this demonstration purpose it is has more than enough performance to use this method even on very old phone hardware (I tested it on a TeraCube 2e running /e/os).
Now that we know how we will draw our entire game board we need to think about how we will allow the user to interact. For the CLI version we let the user use arrow keys and listened for key events. We will do this here too for desktop users. Flutter however makes this a lot easier because it has a KeyboardListener control we can wrap our application in to pick up those events more easily. This also takes care of the messy key mapping stuff we had to do to make the code more readable. So that’s great for desktop, but what about on mobile? We could try to do some custom keyboard thing etc., but again I wanted to leave this as simple as possible. I therefore implement a simple “arrow buttons” control that we will use for letting users navigate, as you can see in the mobile app.
The Main App Quick Walk Through for Flutter Newbies
Our main application takes the standard Flutter form that you will see a million times. We create a main method like any other application, and create a root Application widget that everything else resides inside of. The bulk of our implementation comes from the widgets we define below it and libraries they use for getting stuff done. This is the part where you’ll get a lot of leverage from the tutorials but lets go through it very quickly:
|
|
In main.dart you will see the basic run method. The runApp method is what “inflates and binds” our root widget, the app called App here, and gets the whole process started. Wrapping our app in a ProviderScope is part of the Riverpod state management system. By wrapping our app like this Riverpod can always do all of the state management “magic” that makes the change notifications and other things “just work”. Looking at the App in app.dart we will see similar standard Flutter initial ceremony:
|
|
In Flutter there are two kinds of widgets that every other widget derives from:
- Stateless Widgets: widgets that never change state
- Stateful Widgets: widgets that can have changes in state
If you come from the usual programming world you’d think that almost everything would be a Stateful widget but in declarative UI frameworks like Flutter this is not the case. Remember, that in these frameworkes widgets get rebuilt not just redrawn all the time. The efficiency of how the engines do the rebuilds, determine what actually needs to get rebuilds, etc. is how they have any real performance. So for example, a widget that has some text fields and a button push that changes values the text fields are rendering would be a Stateful widget but the text field and other widgets would all be StatelessWidgets. As you’ll see our custom widget for drawing the tile state and the game board itself are going to be Stateless widgets. The only widget that will be Stateful is the MainPage that ties all the other widgets together.
Most of the work in the StatelessWidget is happening in the build method. Every time the Flutter framework thinks your widget has stale state it will force it to be rebuilt by calling this method. You never have any concept of the previous version’s state information. Trying to track that here is very much an anti-pattern. Your job as a widget is to draw the current state of whatever you are trying to display. It is Flutter’s job to figure out if you need to be redrawn. The way you wire up your Widgets is how the corresponding latest state is provided to your widget.
Getting back to this main App widget, in Flutter you generally return an “App” Widget here. The MaterialApp is the standard one which many people use. Standard Flutter has a CupertinoApp that has more of an iOS look out of the box. Other extensions have other app classes for different desktops. Since Flutter always renders everything in Skia and never uses native widgets, this is always about how platform-specific you are trying to make your app look automatically. I personally use the MaterialApp for everything.
In the configuration of the MaterialApp we are setting a title, a color theme, and telling it what our Home widget is. The MainPage class is where we are going to put our game board widget, arrow controllers (if on mobile), and keyboard listeners to tie the whole thing together.
Stateful Widget Detour for Flutter Newbies
The one Stateful widget in this whole game is the MainPage that will tie all the widgets together. This is the main display surface. Before describing it I wanted to highlight high level aspects of the Stateful Widget for non-Flutter developers. Again, the Flutter documentation and tutorials are great ways to explore this in depth.
A very basic Stateful widget looks like this:
|
|
The most familiar part from our Stateless widget exposure is the build method. This operates exactly like in the Stateless widget: when the Flutter framework decides the state your widget is tracking changed you are told to rebuild. The difference here is that you see that the build method is on a State object that got created by the StatefulWidget that it is paired with. Unlike with the Stateless widget that essentially is rebuilt from scratch each time, the State object associated with the Stateful widget is built only once. This lets us do things like populate it with initial values that change over time as we mutate it, in this case setting the counter to an initial value of zero. We do any of these sorts of things in the initState method that we override. There are other similar methods on the other side of the object lifecycle too like dispose and deactivate. The State object part of the StatefulWidget pair is where all the action happens.
The other thing that sets StatefulWidgets apart is that we can tell the Flutter framework we have a state change by calling the setState method, like in the increment method (lines 15-19). In non-declarative UI frameworks we would just change the counter which is connected to our Text field in the button (line 25) and everything would change directly. However the only time Text is actually rendered is when we are built. We therefore instead need to be rebuilt before the new value is reflected. The setState method is the thing that tells the Flutter framework, “Hey I changed something so rebuild me ASAP please.” This will cause the framework to re-invoke our build method and reflect the new value. It sounds like a convoluted way to change a simple counter and it will feel counter-intuitive at first. After a while though the more unidirectional way that changes flow will feel more natural than having widgets all wired together and state/change flow management all over the place. With that very brief introduction lets look at the MainPage.
The MainPage
Let’s start by looking at the MainPage’s build method:
|
|
We can see that our main page has some nesting of ceremony looking widgets that each provide some very important funcitonality. The Scaffold is the top level widget that lets us lay out a standard application with an application title bar at the top, the body in the middle, a bottom navigation bar, floating buttons etc. It makes it easy for us to do that by just adding widgets to the respect fields, like how we used the body field on line 4. The next layer down is the SafeArea widget. On desktop this doesn’t do much but for mobile devices with cameras, obscured areas of the screen etc. it automatically adjusts our app to work around that. The next layer down is the KeyboardListener This is what we are going to be using to pick up the keyboard events with the keyboardhandler.
The actual layout of our screen is then the child of that. In Flutter there are a series of widgets you will use to lay out your screen usually in non-absolute pixel coordinates. Like in many modern frameworks you don’t say, “I want a button at X pixels and Y pixels that is Z pixels wide.” You do things like, “I want a centered button with some padding around it with this content drawn in it,” and the framework does the rest. You can see this here with how we are using the Center and Column Widgets to build up what our application screen. The three major components we are putting on the screen is our custom GameBoardWidget, a Text widget to reflect the score, and the ArrowController if we are on mobile. This shows off a couple of Dart/Flutter nicities.
Line 22 is where you get a glimpse of how we deal with platform specific scenarios. This doesn’t require us dropping down into Kotlin, Swift, or C code or anything. Dart and Flutter have properties that we can access to determine if we are running on the web, a specific operating system, etc. It can get even more detailed than the above and determine which version of an operating system or capabilities of the system. But this is as deep as we need to go. We only want to draw the arrow controller if we are on mobile platforms which currently are only iOS and Android for the time being.
Another interesting thing we are doing here is leveraging Dart’s “spread operator” . This lets us add individual elements of one list into another as individual elements. The result of the if statement being true here will add the two elements to the list of the other elements in the Column.
Let’s look at how the game object is initialized. We only want this to be done when the widget is first created so we put that in the initState method:
|
|
Here we create the game and then start it right away. The setupGame method will look very similar to the CLI one:
|
|
Because all of the drawing is being done by Flutter and the widgets we actually have nothing to do except call the gameBoard before update step. For the afterStep we are going to keep track of score changes and ask to be redrawn to update our score (lines 16-20). If the game is over we will also ask to be redrawn to reflect the change in the game over status. Otherwise all the work is being done in the business layer GameBoard object again. Lastly we look at the keyboard event handler:
|
|
Like in the Dart CLI example this is mapping the given pressed key to the direction change. Unlike the Dart CLI version we don’t have to work with raw key byte codes. Instead Flutter has all that work done for us.
Let’s now look at the sub-widgets.
Arrow Controller Widget
The ArrowController is a very simple StatelessWidget consisting of four IconButtons whose onPressed handlers are tied to the snake’s changeHeading method just like the keyboard handler:
|
|
Game Board Widgets
The drawing heavy lifting will be done by two custom Stateless Widgets: GameBoard and GameBoardTile, both in the game_board_widget.dart file. Let’s look at the GameBoard first:
|
|
This widget will take a reference to the GameBoard object that is being managed above it. As stated above for the game board we are going to use the GridView
widget, starting on line 128. It has a factory constructor that expects a specific set of widgets that it has to manage, GridView.count. It also lets us specify how many columns the grid has. We therefore just need to hand it a widget for every tile. As you saw, in the original post, our GameBoard object has a tiles property that lists all the tiles. We therefore just need to convert them to widgets.
As you can see on lines 130 thruogh 132, Dart has a convenient iterator method called map that lets us transform objects in a collection on the fly. We use that here to create one of our custom TileWidget objects for every tile. Let’s explore that class now:
|
|
Our TileWidget is really only concerned about knowing how to draw itself. We use the standard Container widget that lets us specify a size, color, and other properties. That is the object our build method returns. In order to figure out which color it has to know the state. If you come from a non-declarative UI world you may have been tempted to pass in the tile and use that state. If all we cared about was an immutable property like the grid location then that could be fine. However we are trying to draw the current state, which is constantly changing. This is where the magic of the Flutter framework and Riverpod state management system come in. The first line of the build method, line 13, is where the magic happens.
With this line we are telling the framework to watch the tile state value for the game tile at that particular position. What that means is that now the frameworks are going to keep an eye out for any changes for that particular tile that this particular widget is interested in. If it ever changes then it will create a new TileWidget to draw the new state. That is the essence of how declarative UIs work instead of the usual imperative style ones. The ConsumerWidget type is a StatelessWidget subclass that knows how to handle mapping in all the Riverpod state manegement system. Riverpod is the thing that knows how to keep track of what we asked to watch and where. Riverpod then communicates with the Flutter system’s infrastructure that keeps track of what needs redrawing where. We will get into how to setup that “gameTileProvider” in a moment but first lets revisit how TileStates know about “color”. We are doing the same thing we did in the CLI app, we are using extension methods:
|
|
The Game Tile State Provider
As highlighted above, the secret sauce that lets the state flow so easily is watching the gameTileProvider object and the GameBoardTile’s extension of the StateNotifier class. We are responsible for wiring up this provider in our code, which you see in the riverpod_di.dart file.
|
|
This is the place where we both create the GameBoard object and then use that in our StateNotifierProvider. The quick version of what is happening here is that Riverpod has lots of convenience methods for breaking up or combining state management objects to make leveraging the state changes very easy. The StateNotifierProvider.family method allows us to drill down into an object with potentially lots of StateNotifier extending objects and just get one little piece of them and track the changes of state of that one little piece. This is very important for performance reasons. Imagine if when we called that ref.watch method getting the gameTileProvider it returned the whole game object and we picked out our individual tile state. The “watch” method is what the framework uses to decide if the data we are looking at is potentially stale so it has to redraw our widget. If we tracked the whole game board down in the TileWidget it wouldn’t redraw every widget just when the individual tile changed but when any tile changed.
The family mechanism’s three arguments are saying, “From a GameBoardTile, we will return a TileState for a passed in BoardPosition.” When we do that the wiring in of the state tracking to our individual TileWidget occurs and Flutter can know to ask us to be rebuilt when our particular tile changes.
Conclusion
For new Flutter people that is probably a lot to take in with all of the nuances of declarative UIs, some of the ceremony about how to wire up apps, the difference between Stateful and Stateless widgets, etc. The essence of the application though is that by writing one widget that very easily maps a GameBoardTile to a Container widget, controlling the snake heading with buttons or keyboard event handlers, and leveraging Riverpod StateNotifyProviders we were able to very easily and with maximal code reuse wire our snake game into a Flutter UI that runs on Windows, Mac, Linux, iOS, and Android devices.